Wedding Dress Pt 4: Starting the Final Gown

So. IT’S ALMOST TIME *drumrolllll* to finally -for real- start the wedding gown. After months of toiling away. We saw in part three the drafting process and several rounds of design edits to make it to the final style. Let’s dig back in.
The Most Terrifying Part of the Entire Process…
… was cutting the nice fabric 😱 😱 😱 Those who have ever worked with a special or sentimental fabric know this. It’s terrifying. There’s no going back once you’ve pulled out the scissors and cut out the pieces! The idea of screwing up such precious beaded fabric is a sewist’s worst nightmare. Scarier yet, this particular fabric UNRAVELS. The beads, when the wrong thread is pulled, fall apart like Will Smith’s composure at the ‘22 Oscars.
This leads me into…
The Time Consuming & Complicated Saga That Is Beadwork
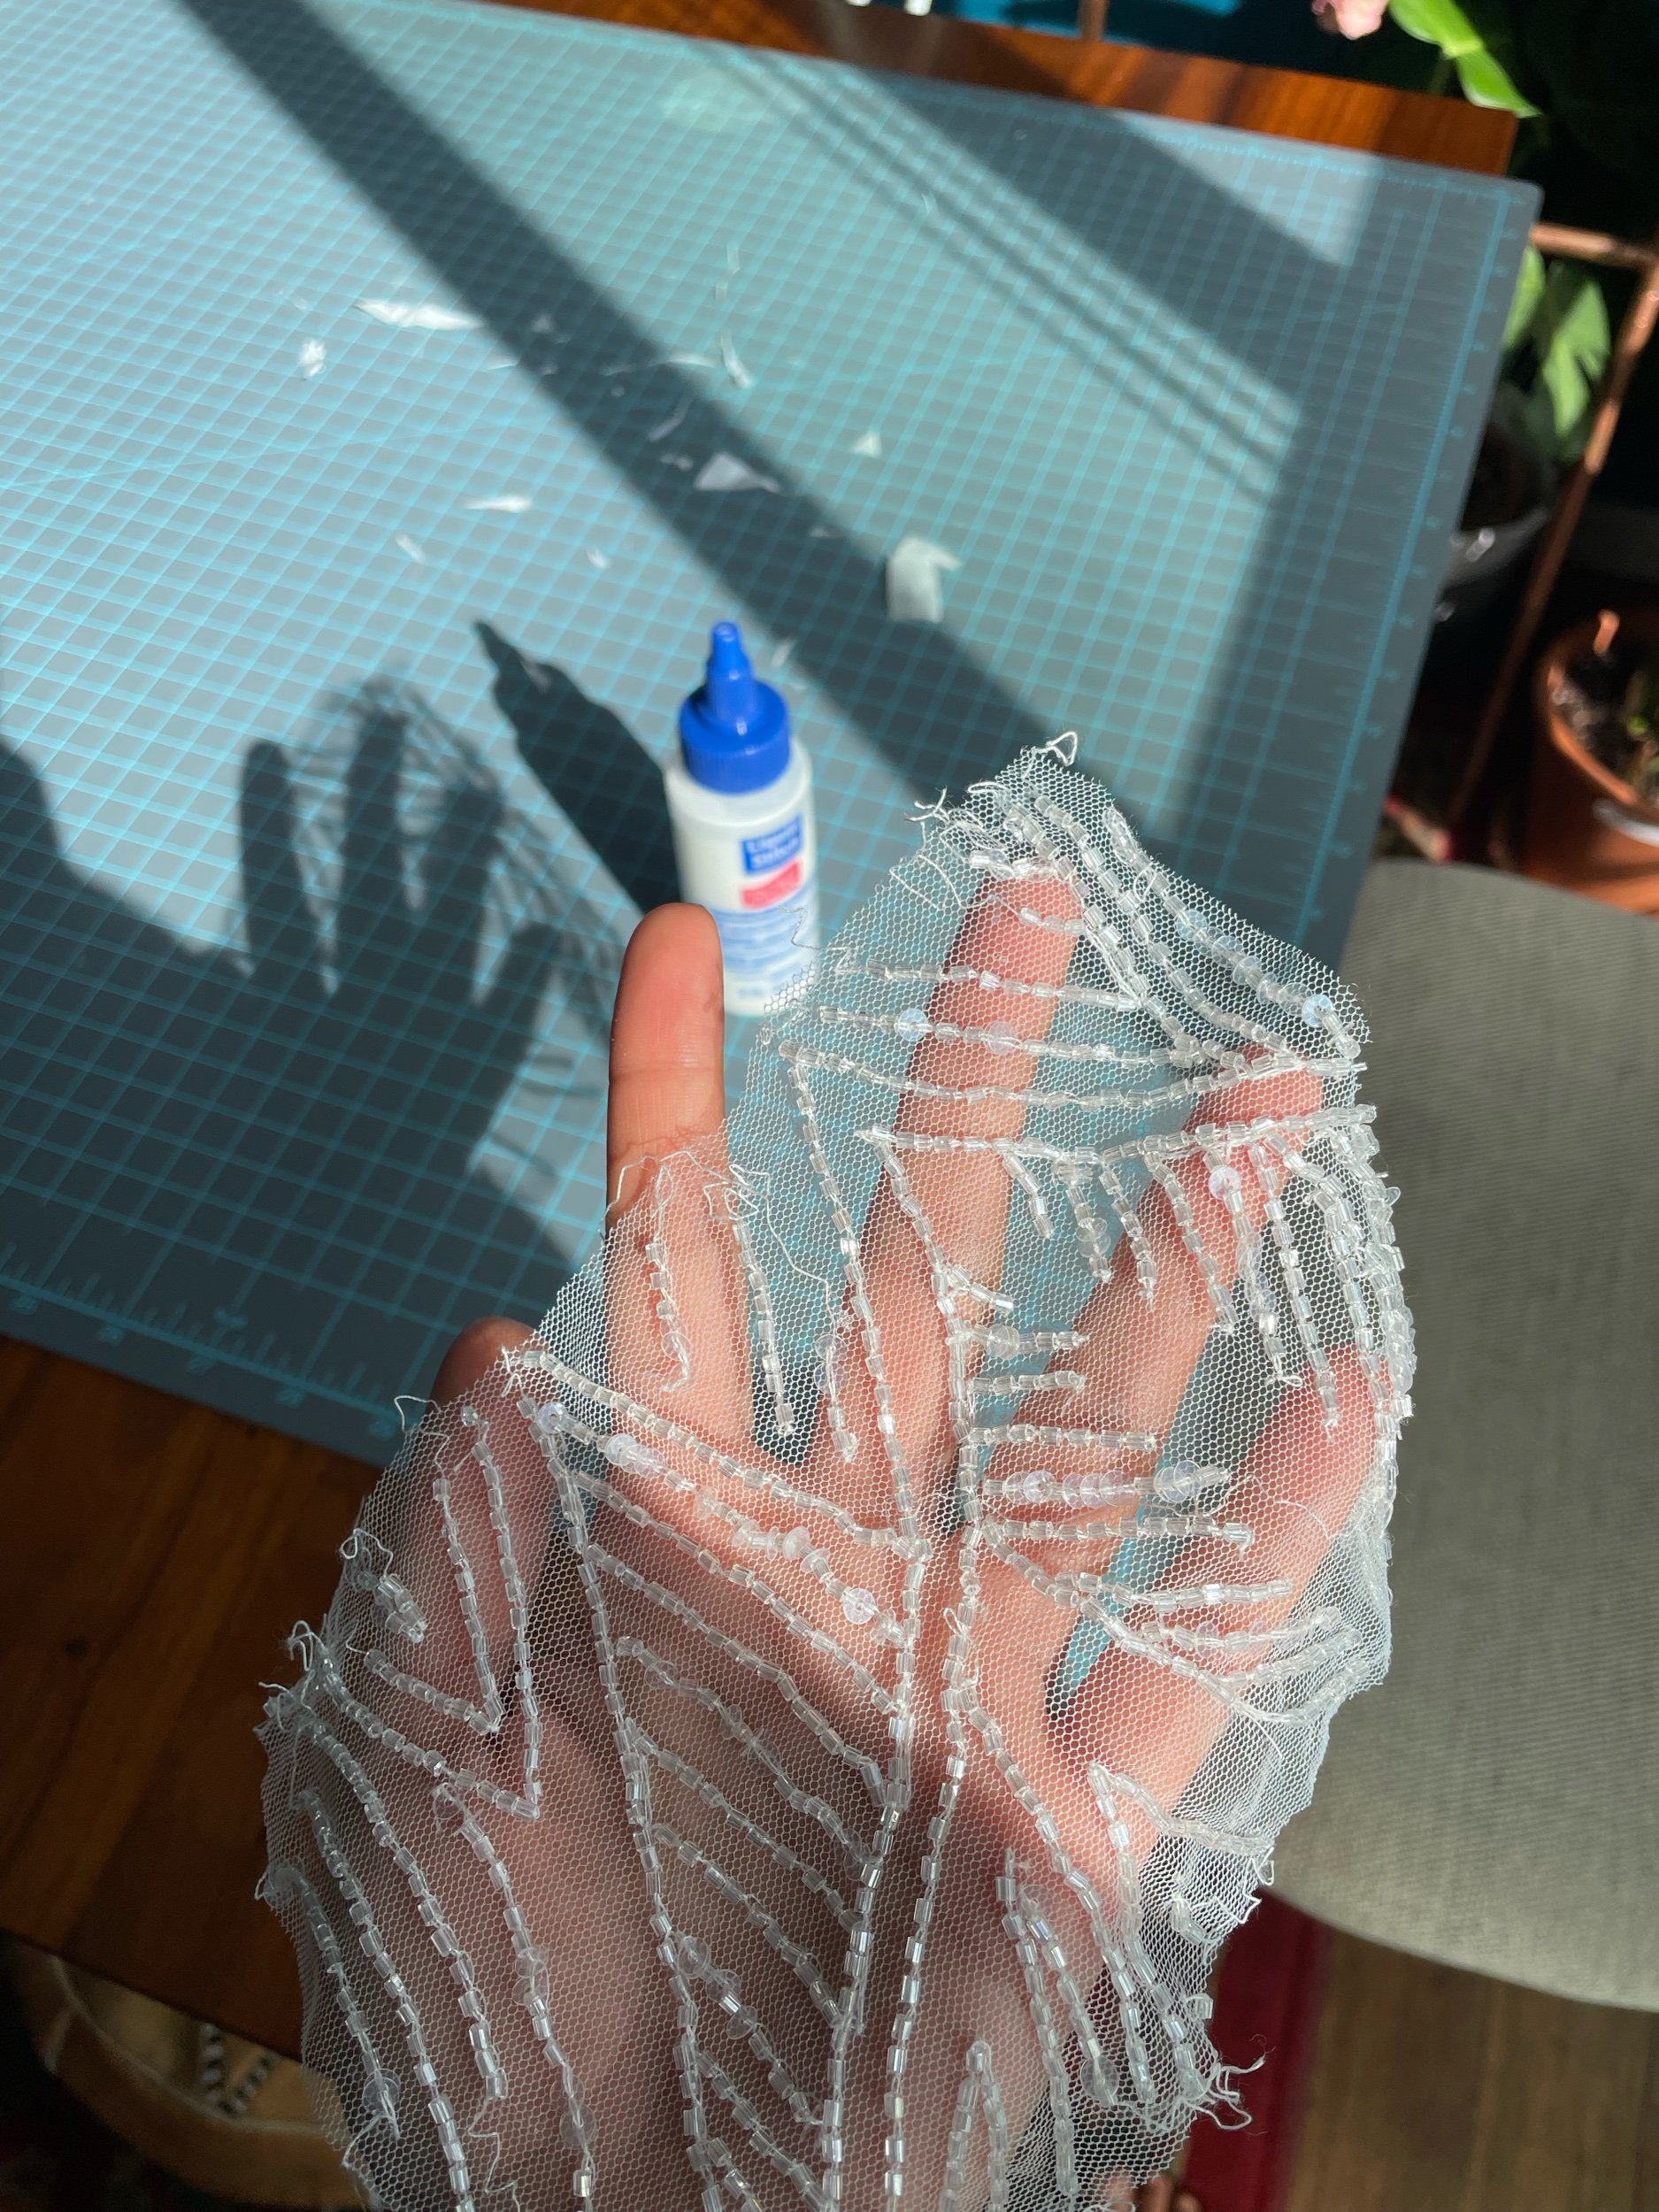
The dress’ shape honestly isn’t so complicated. But, you know what is? Working with these damn beads. To prevent each individual piece of the beaded tulle from just falling apart, this is what I had to do:
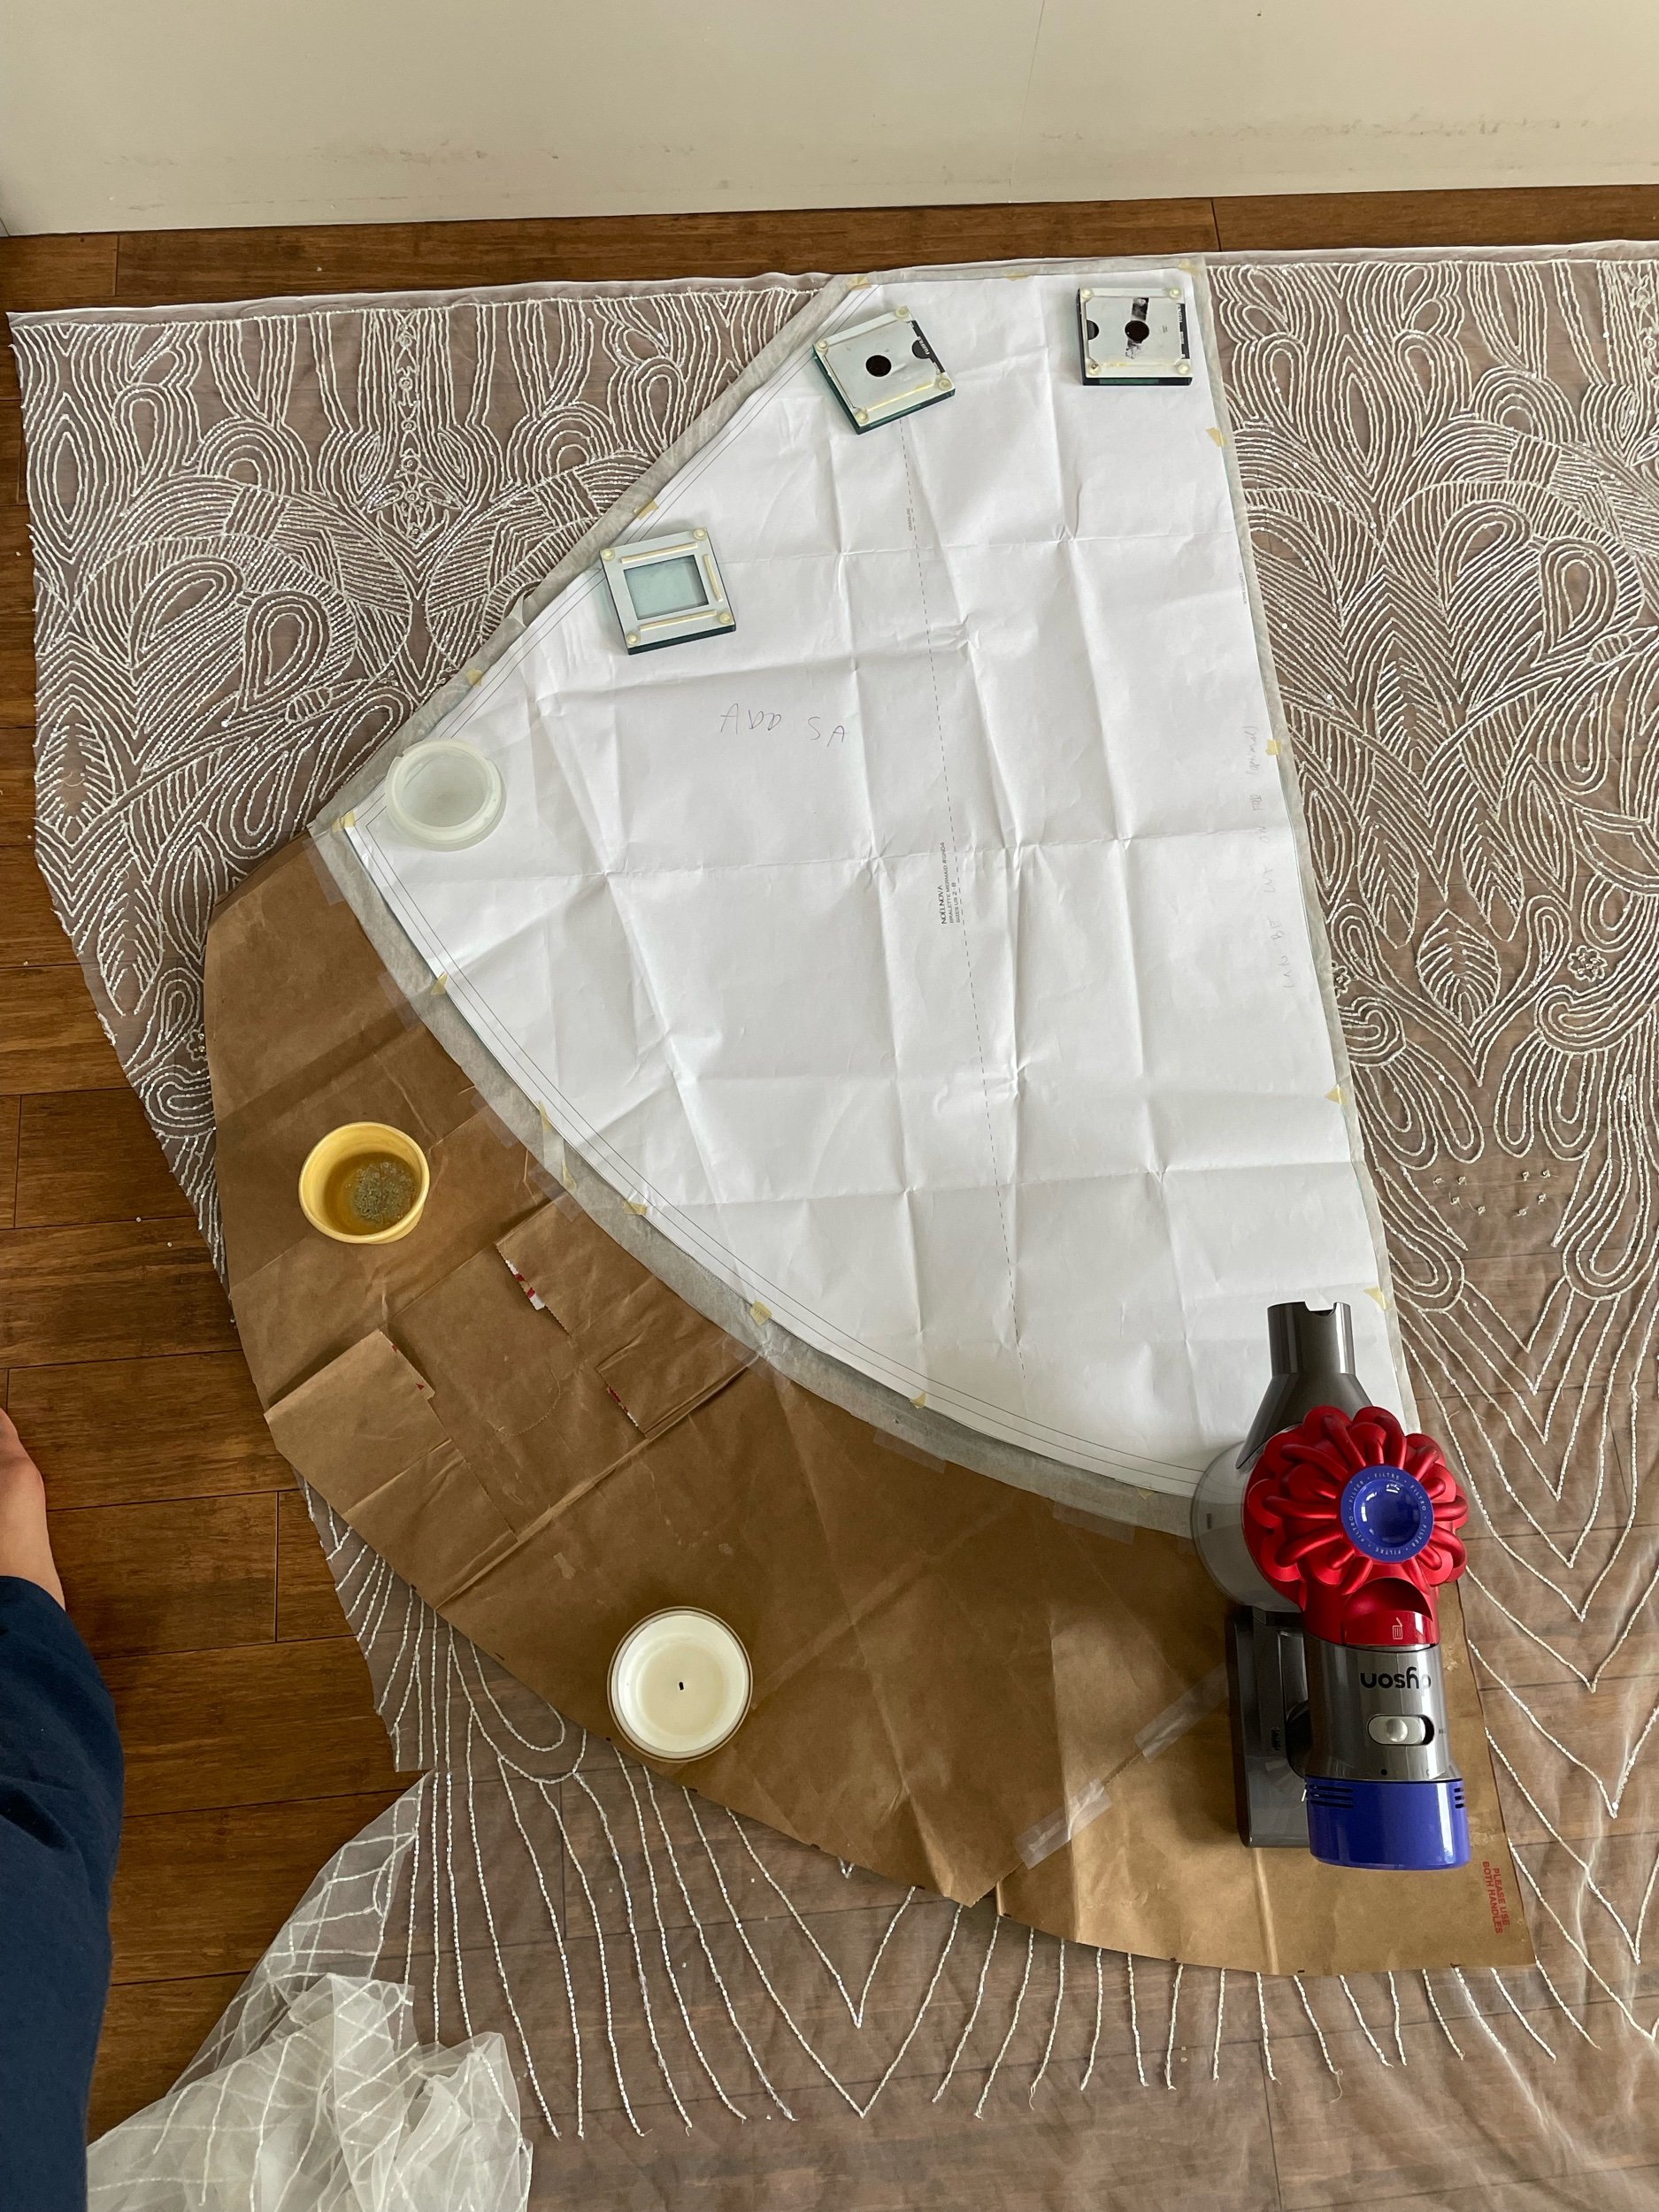
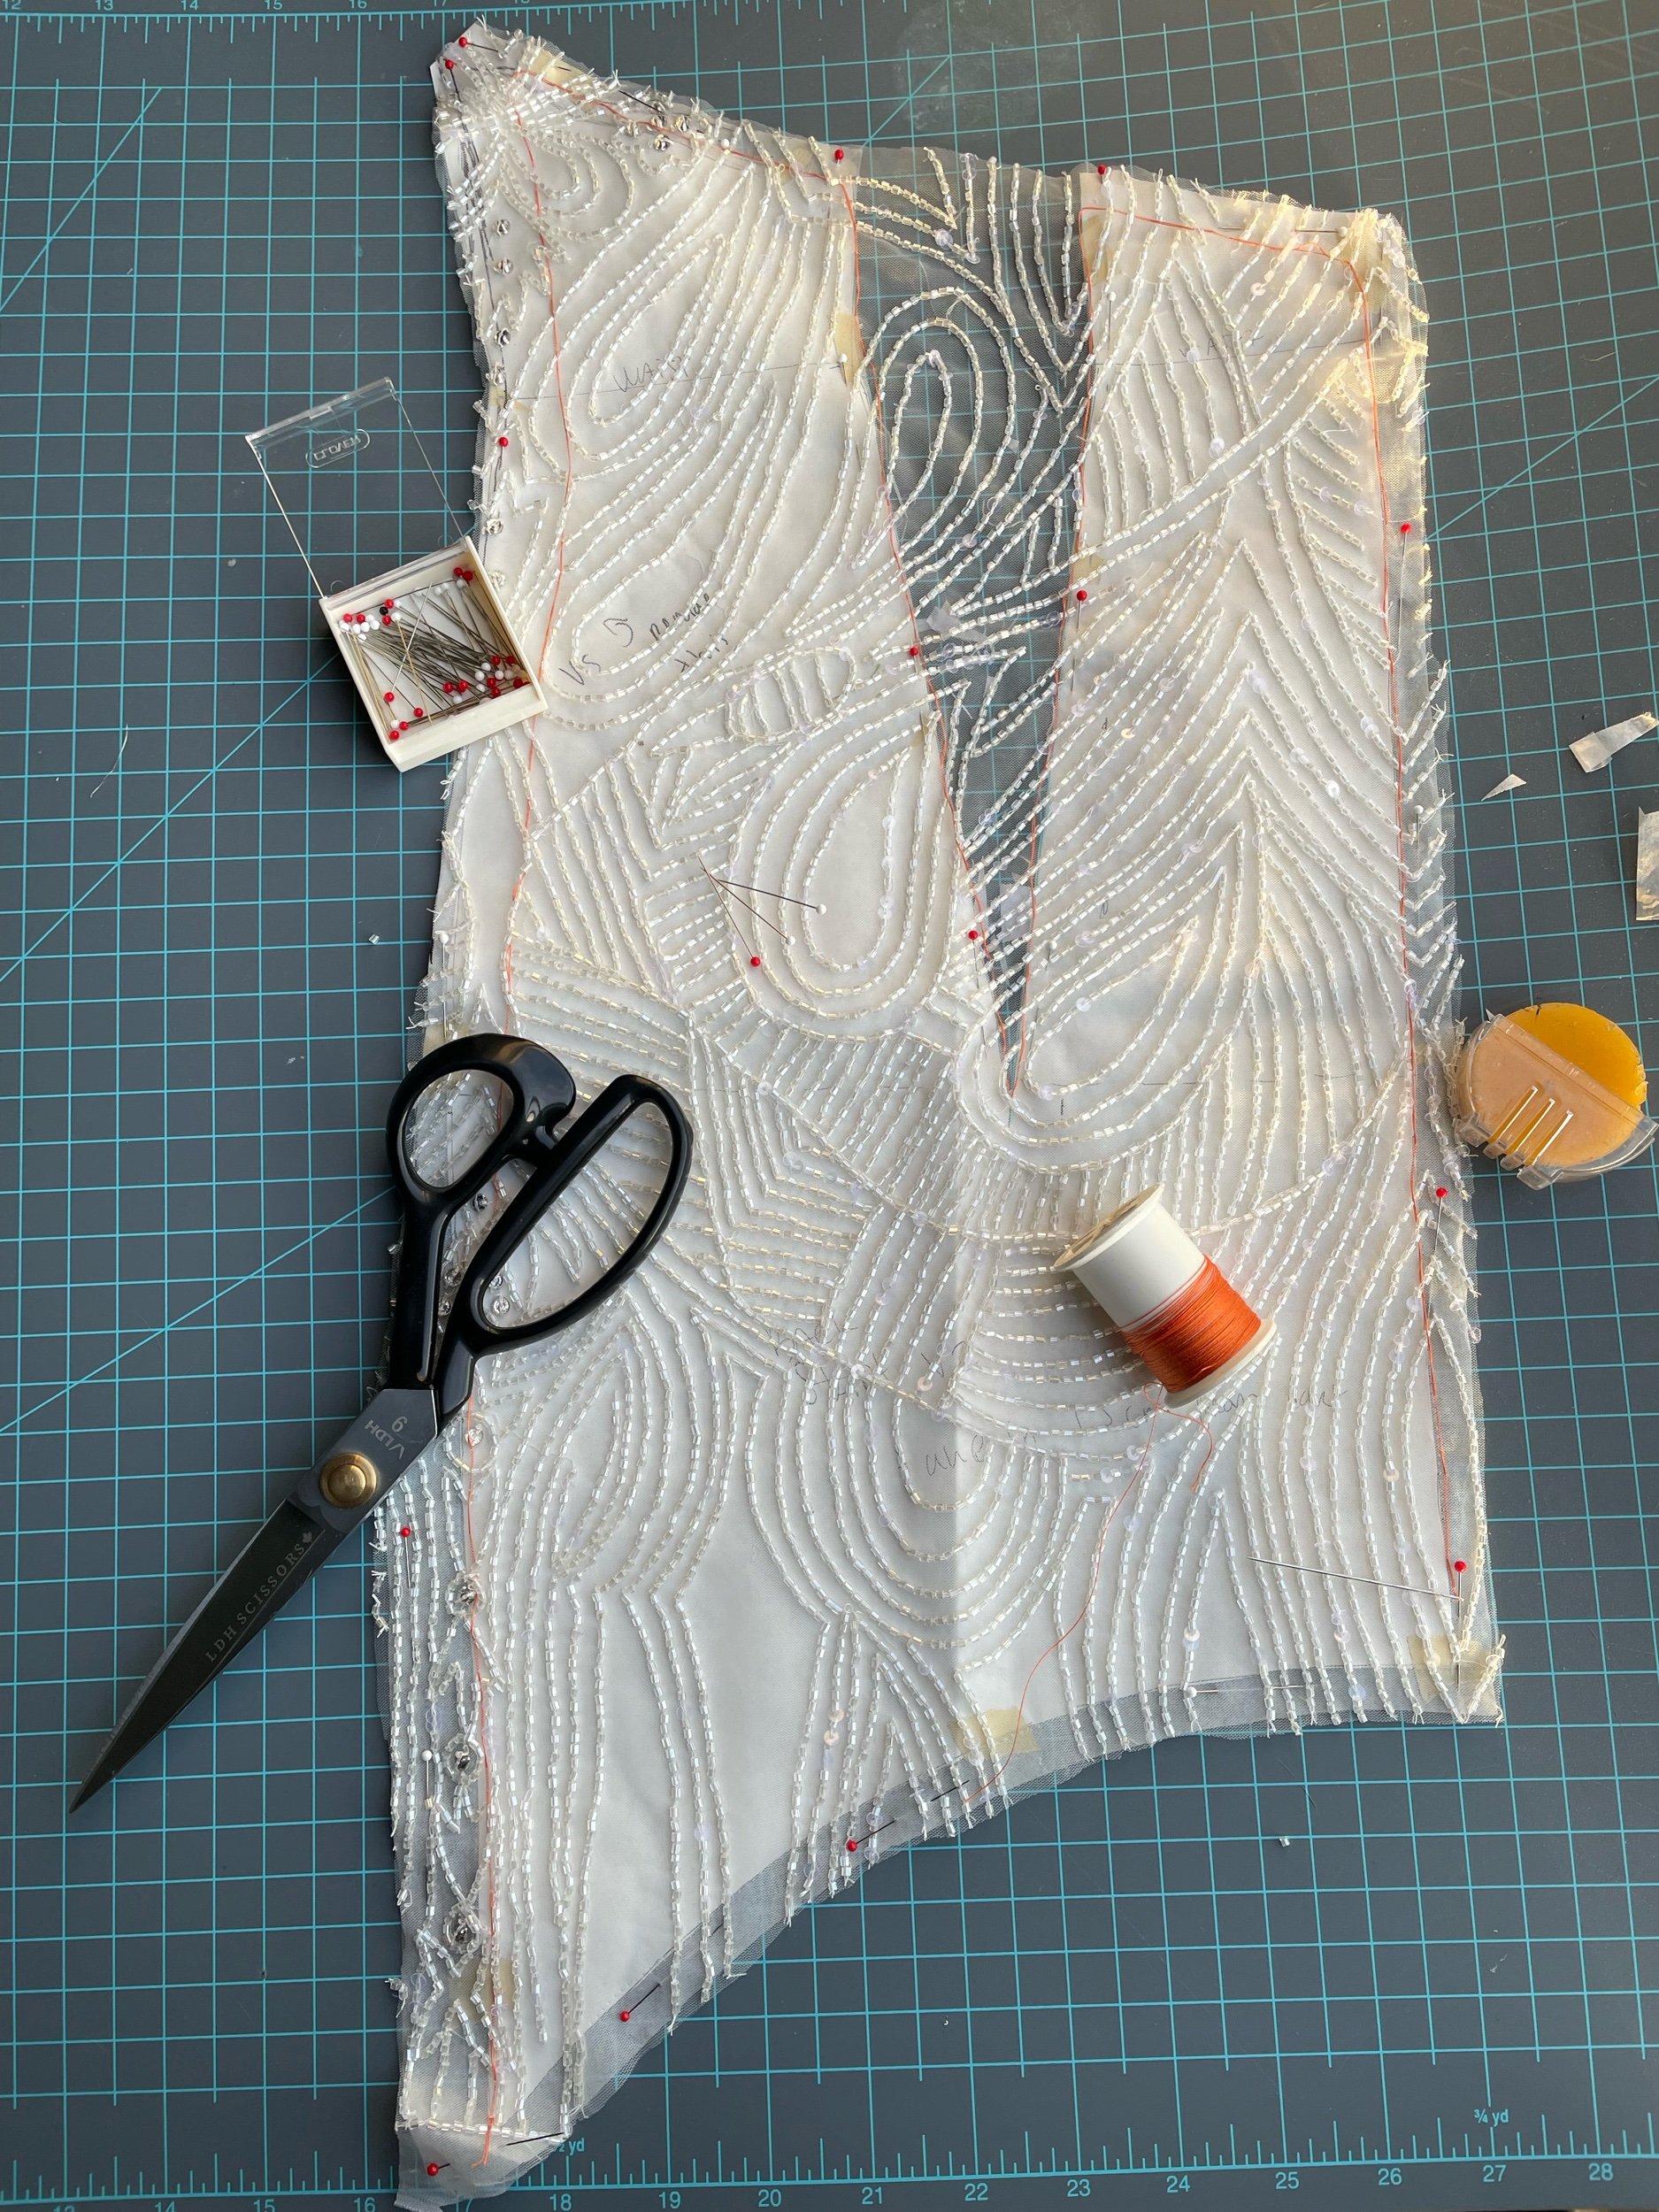
Cut each pattern piece
Thread baste the seam allowance line in accent thread
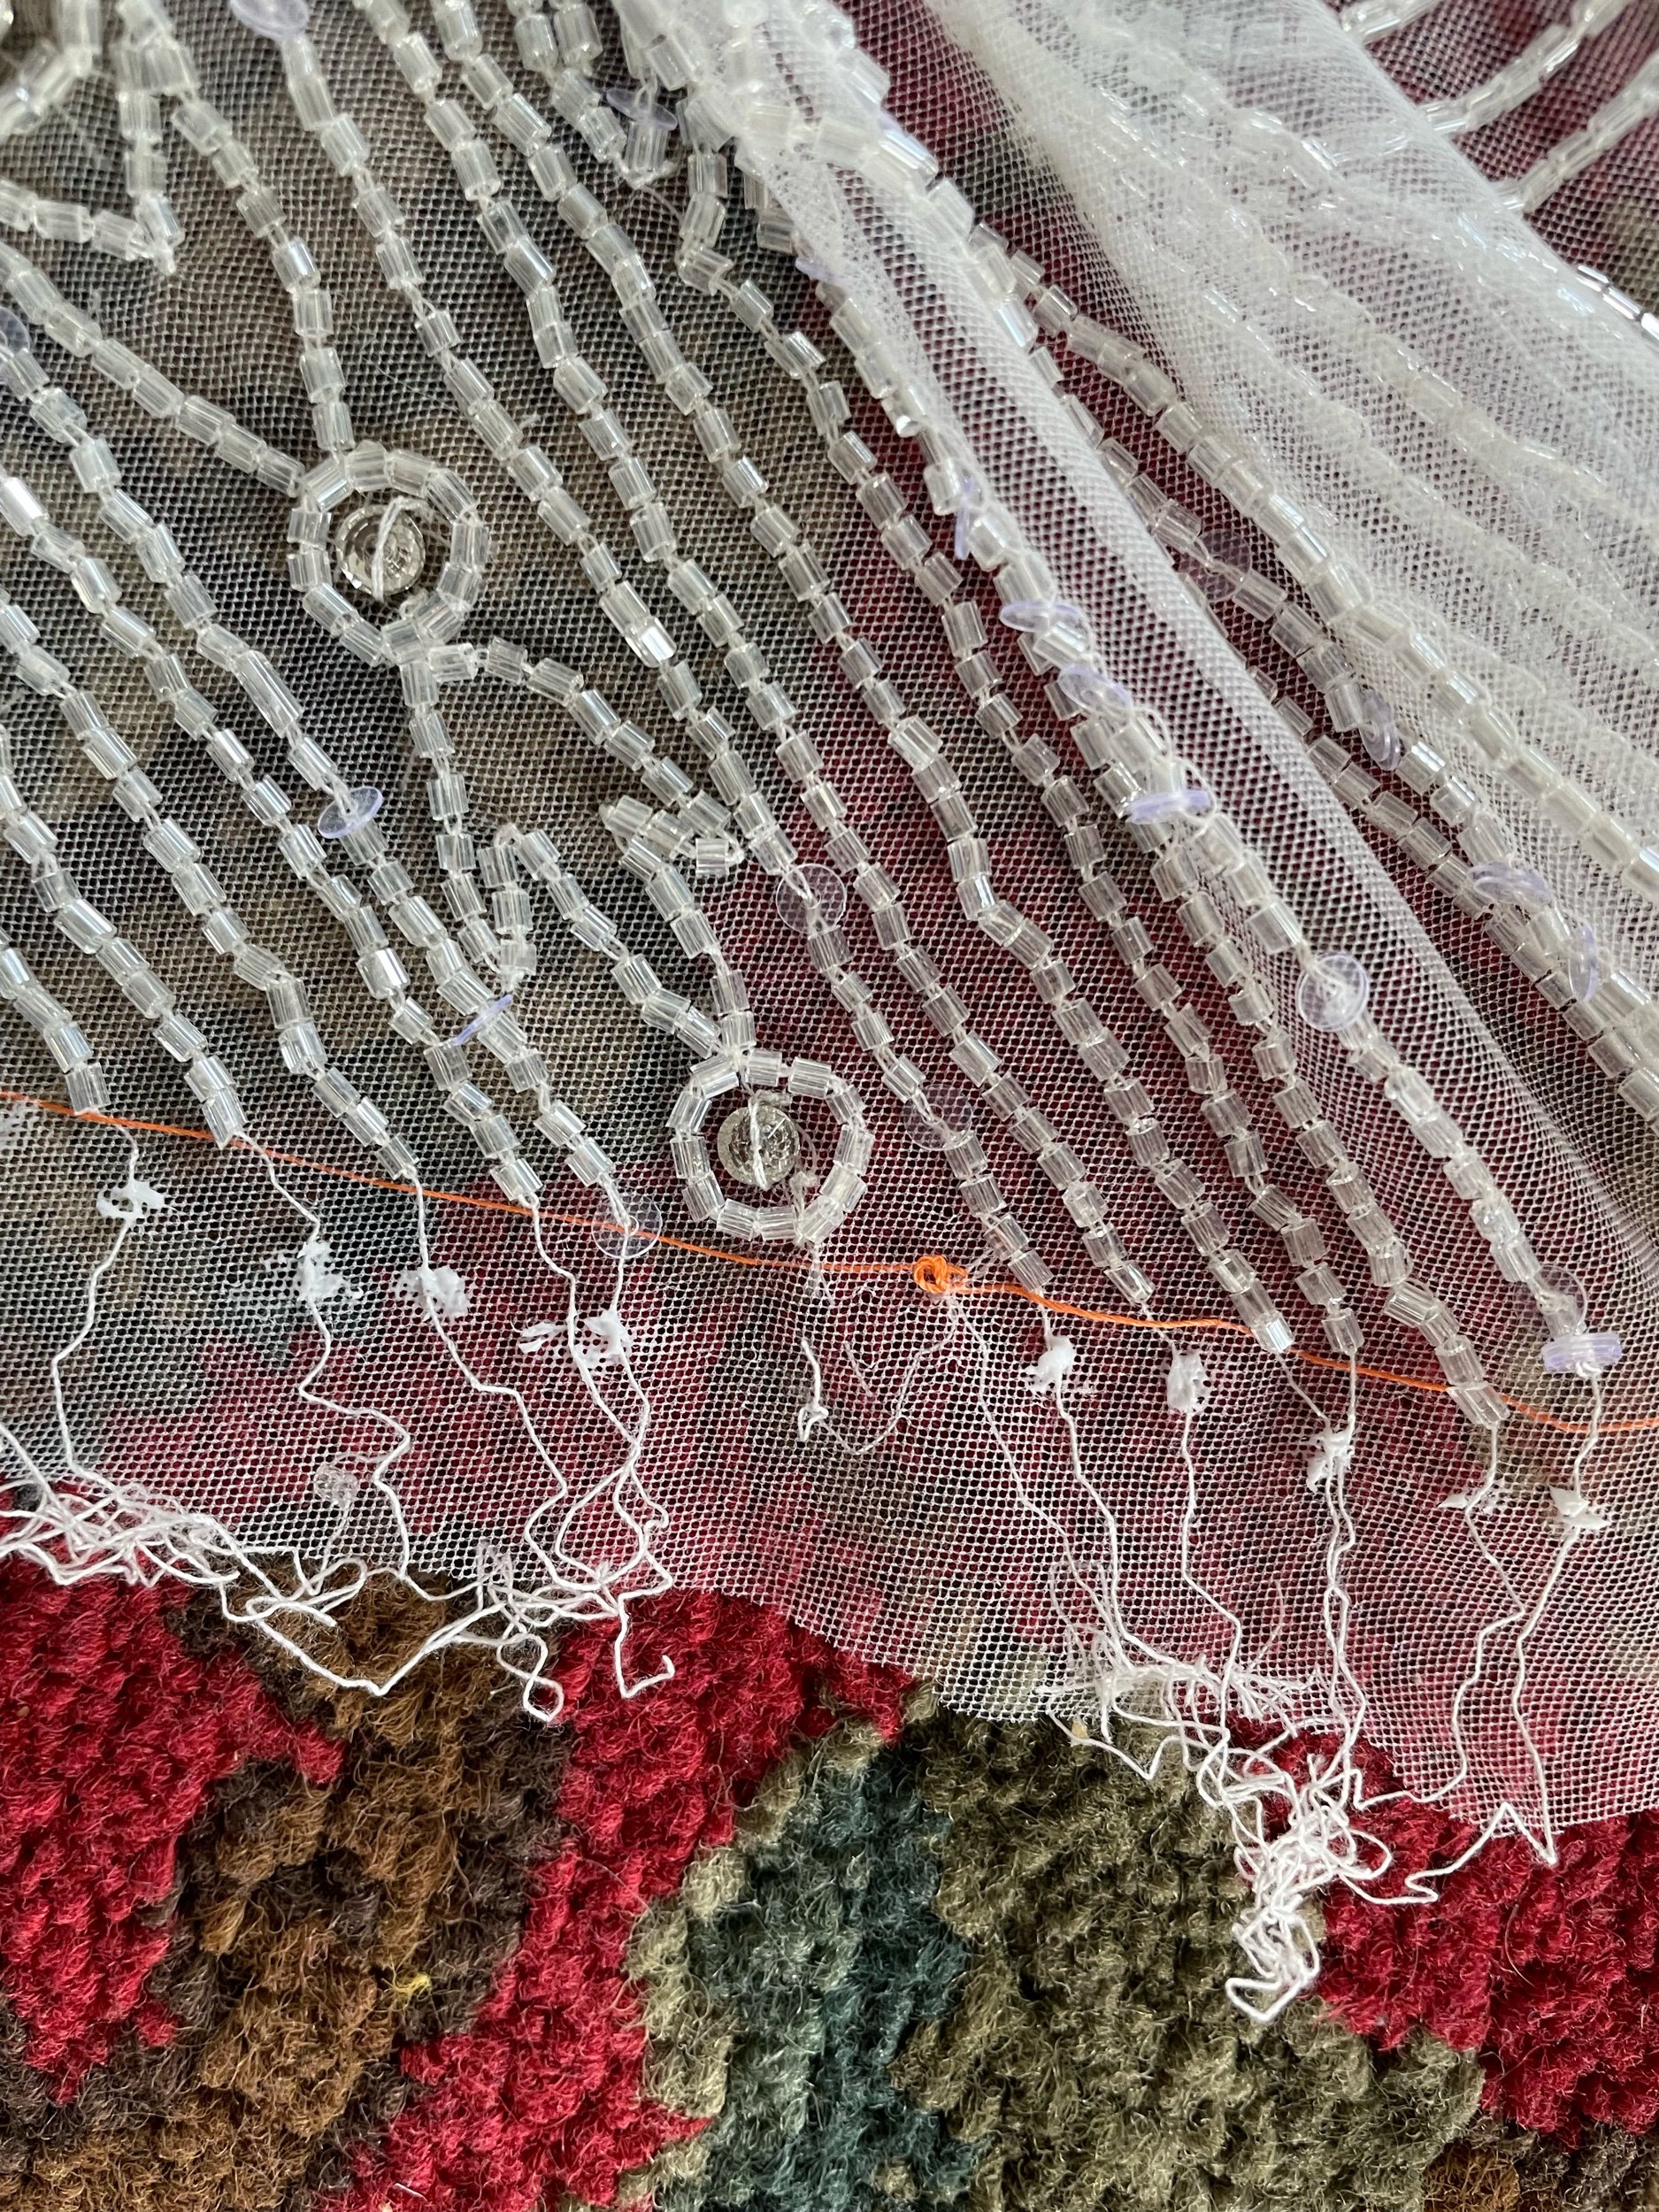
By hand, unravel the beads from within the seam allowance
Pull through the ends of the thread and fasten the thread tail in place with some clear liquid stitch glue
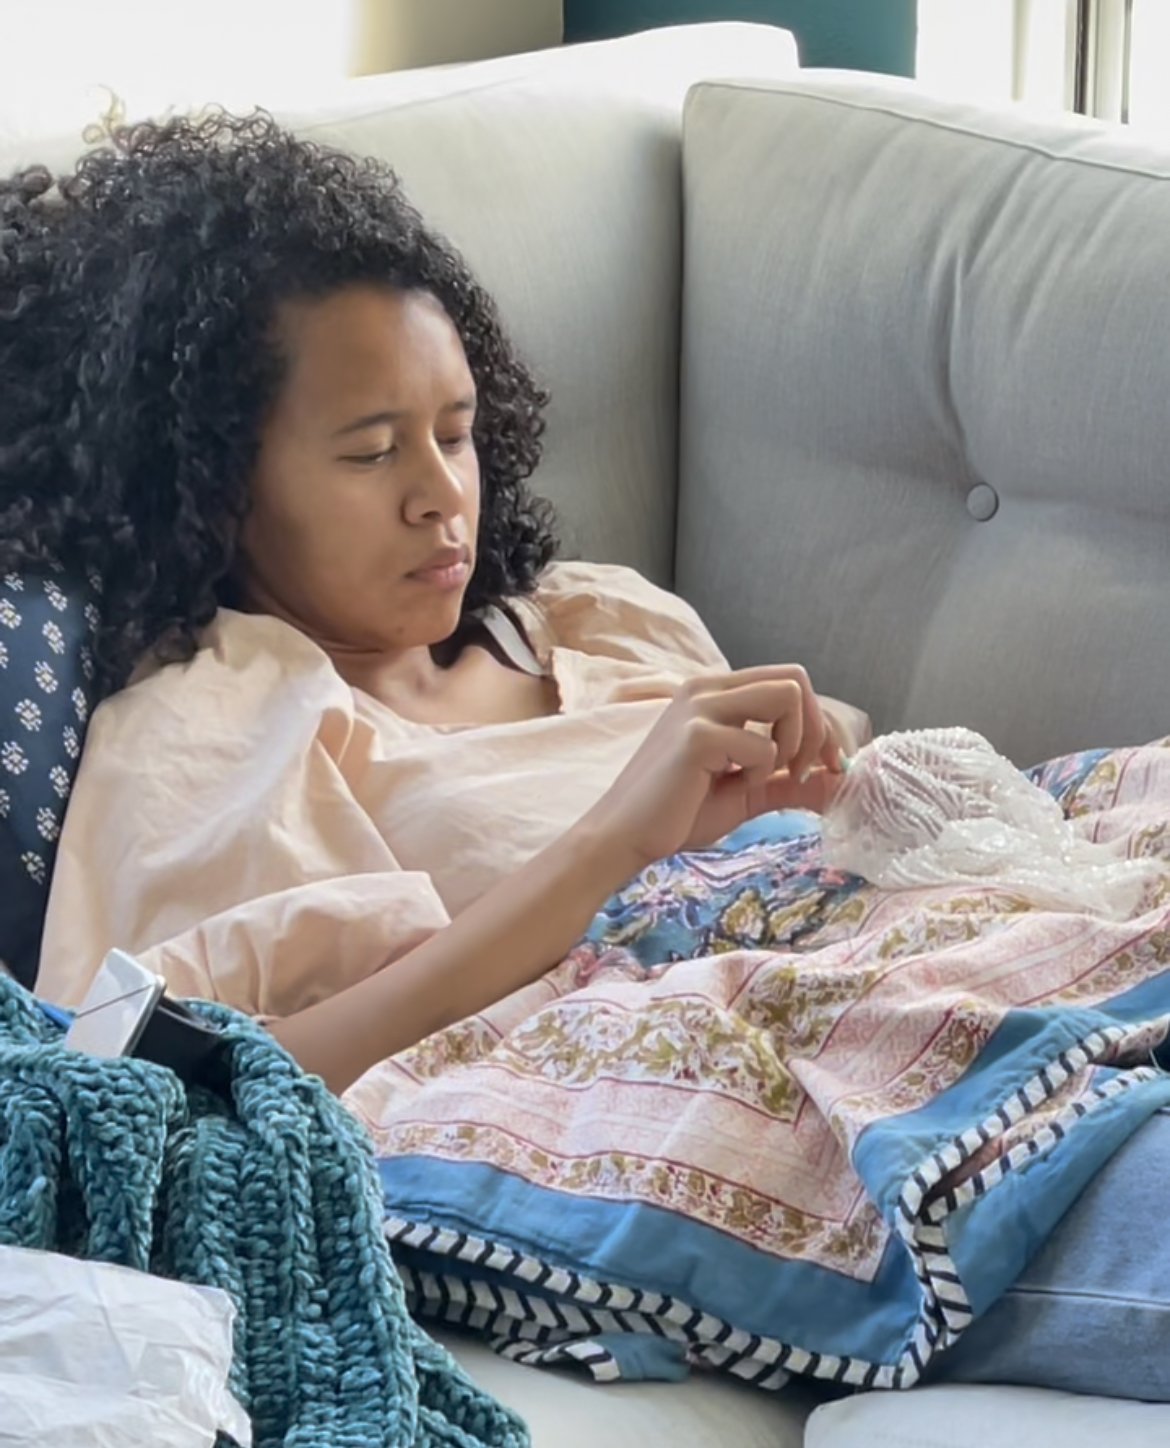
Real footage of me wasting away unraveling beads.
Phew, I’m tired, just telling you about beadwork. (BTW I’m not saying my method is the method for everyone. This is just how I approached it.) Some other folks actually smash the beads in the seam allowance with a hammer to remove them more quickly. I very intentionally wanted to save the beads. I wanted to futureproof the garment for at least one more wear. In case I ever decide to take out the seams of the dress and re-embroider them for someone I love and cherish who is bigger than me, I’ll be prepared—too much work for this thing to be a one-and-done. No ma’am. I used wide .8in/2cm seam allowances at the sides so there’s plenty of room to take out.
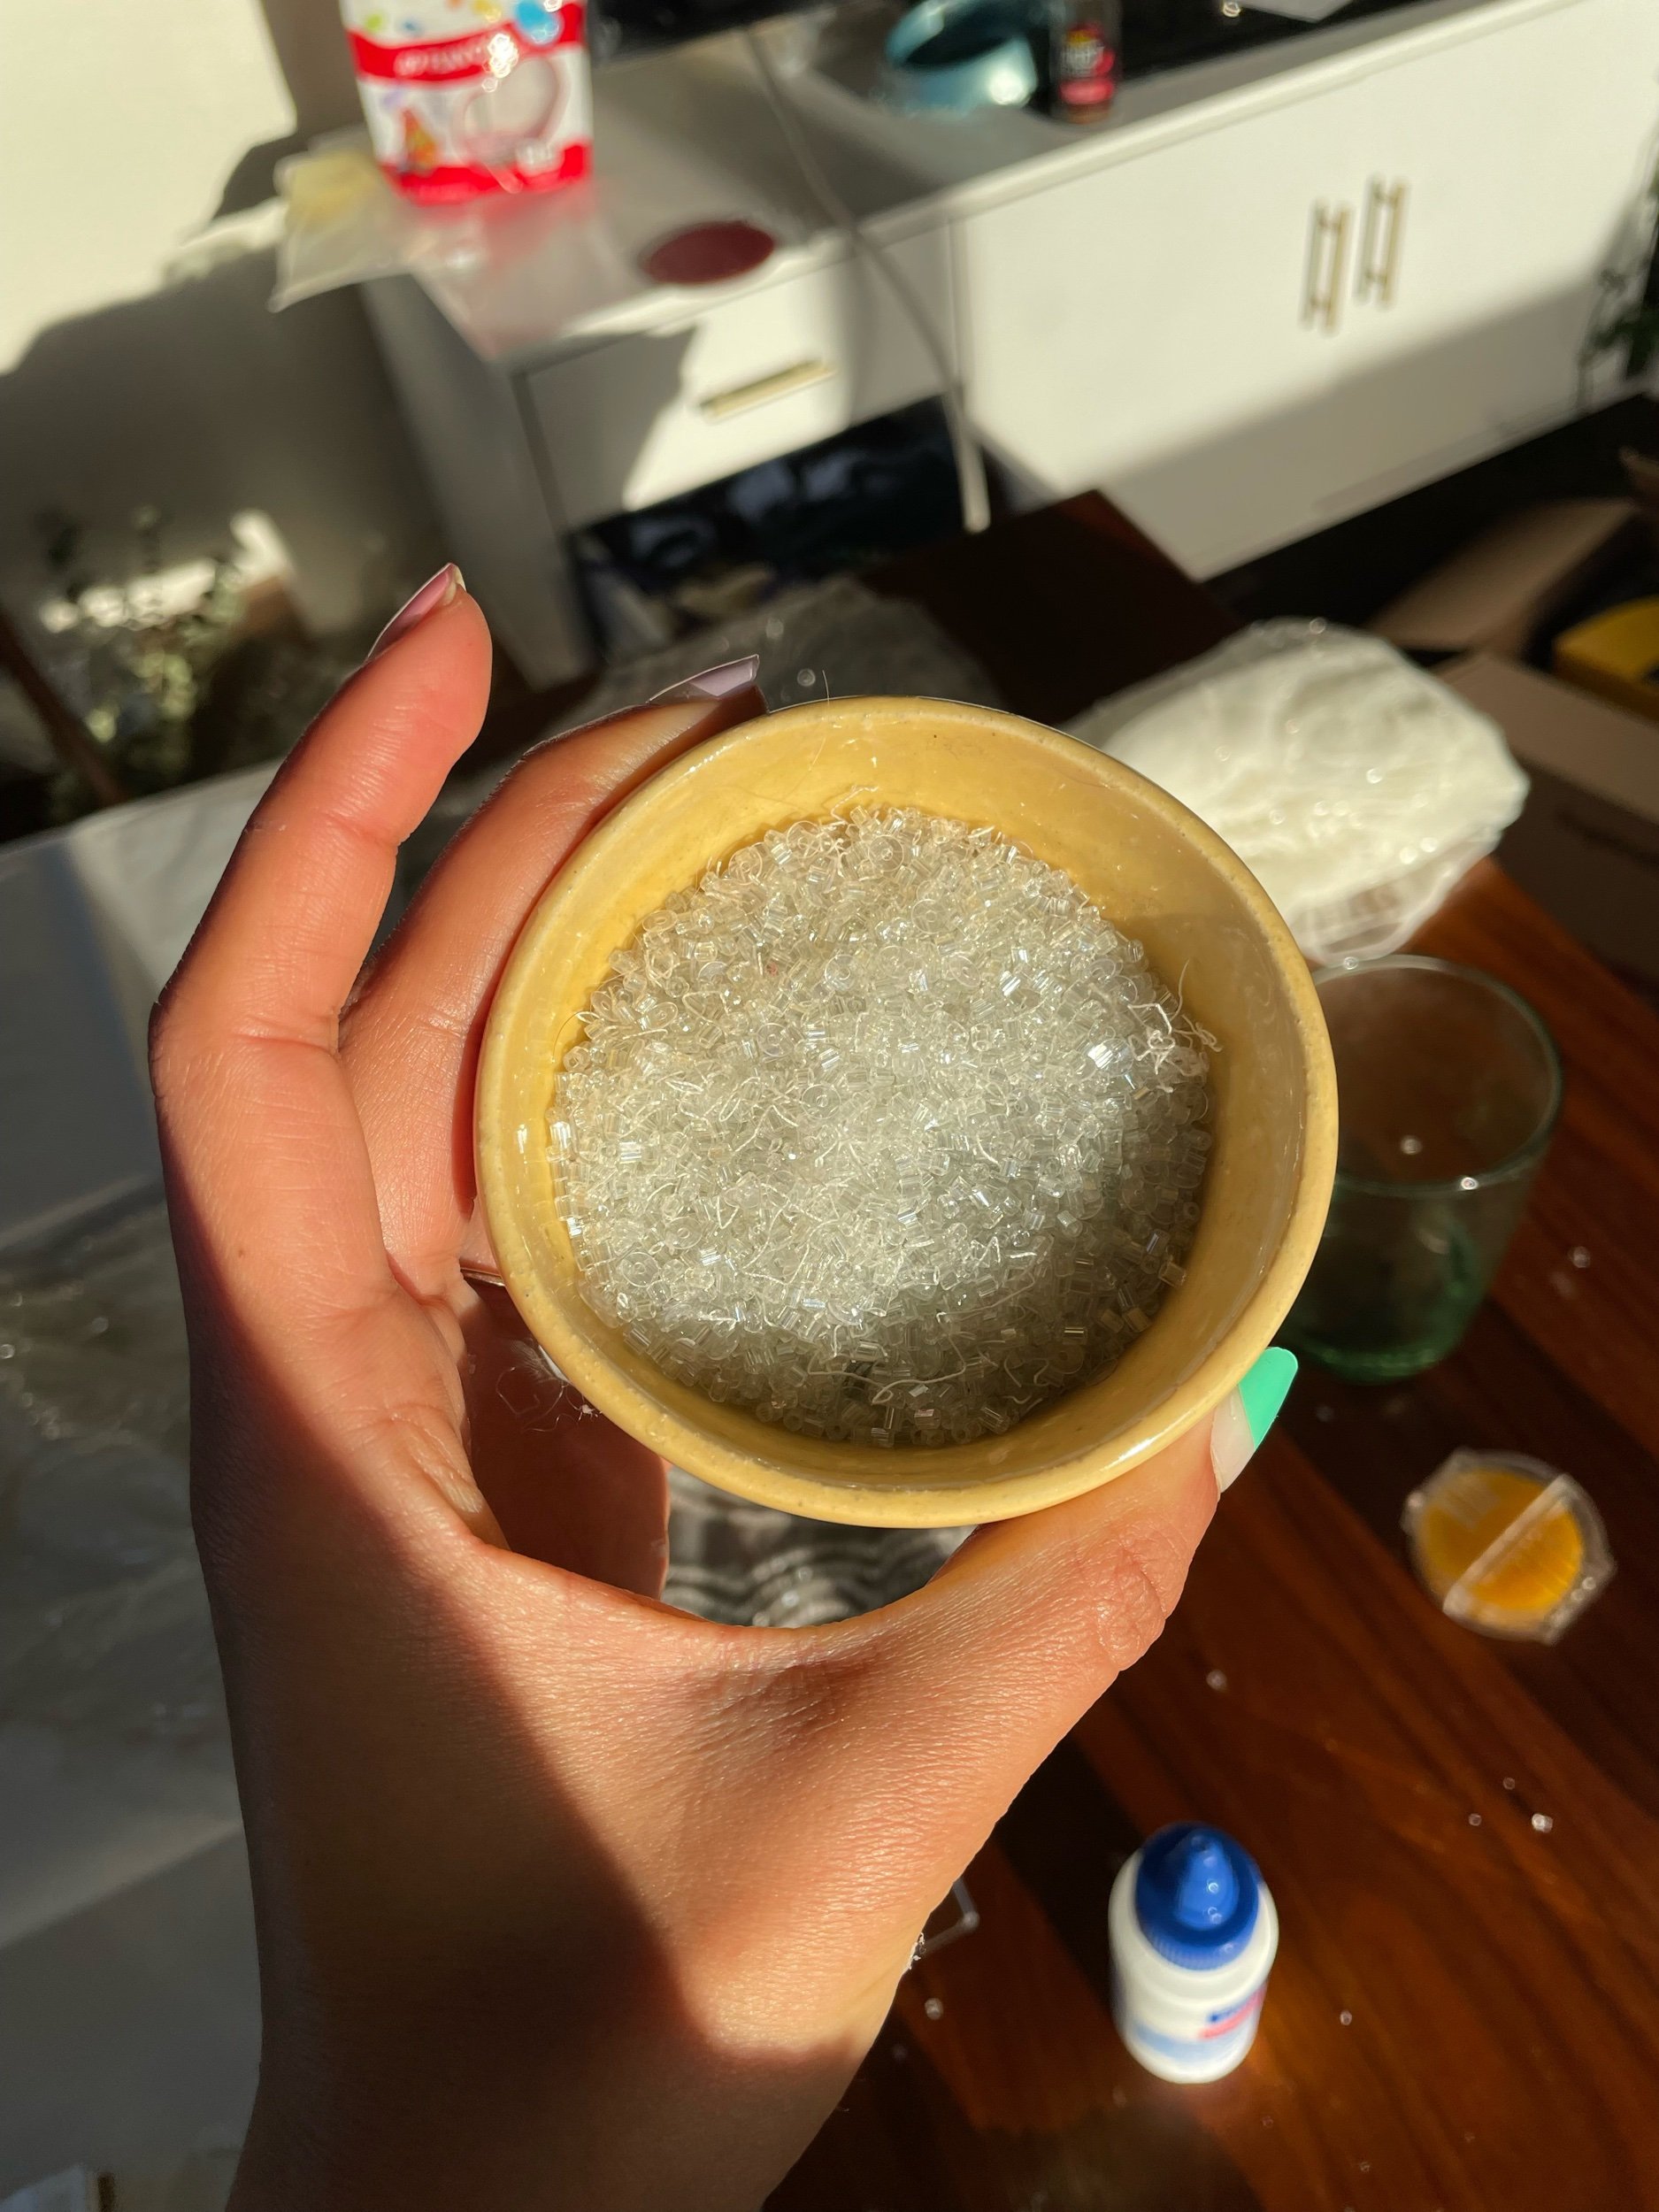
So. This bead removal took eons. FOREVER. It took a few days off of my life from the strain of the patience 😂 I didn’t track it, but it might’ve been 30 hours or so to complete. I have thousands and thousands of little glittering uneven glass beads to show for it. It’s been months now and to this day, I still find clear beads in the corners of the walls or the carpet. They’ll probably never be gone!
We remove the beads for a few reasons: a) they break sewing needles like mad b) they can make the seams bulky, uneven, and scratchy. For a more thinly beaded fabric, it might’ve been fine without removal.
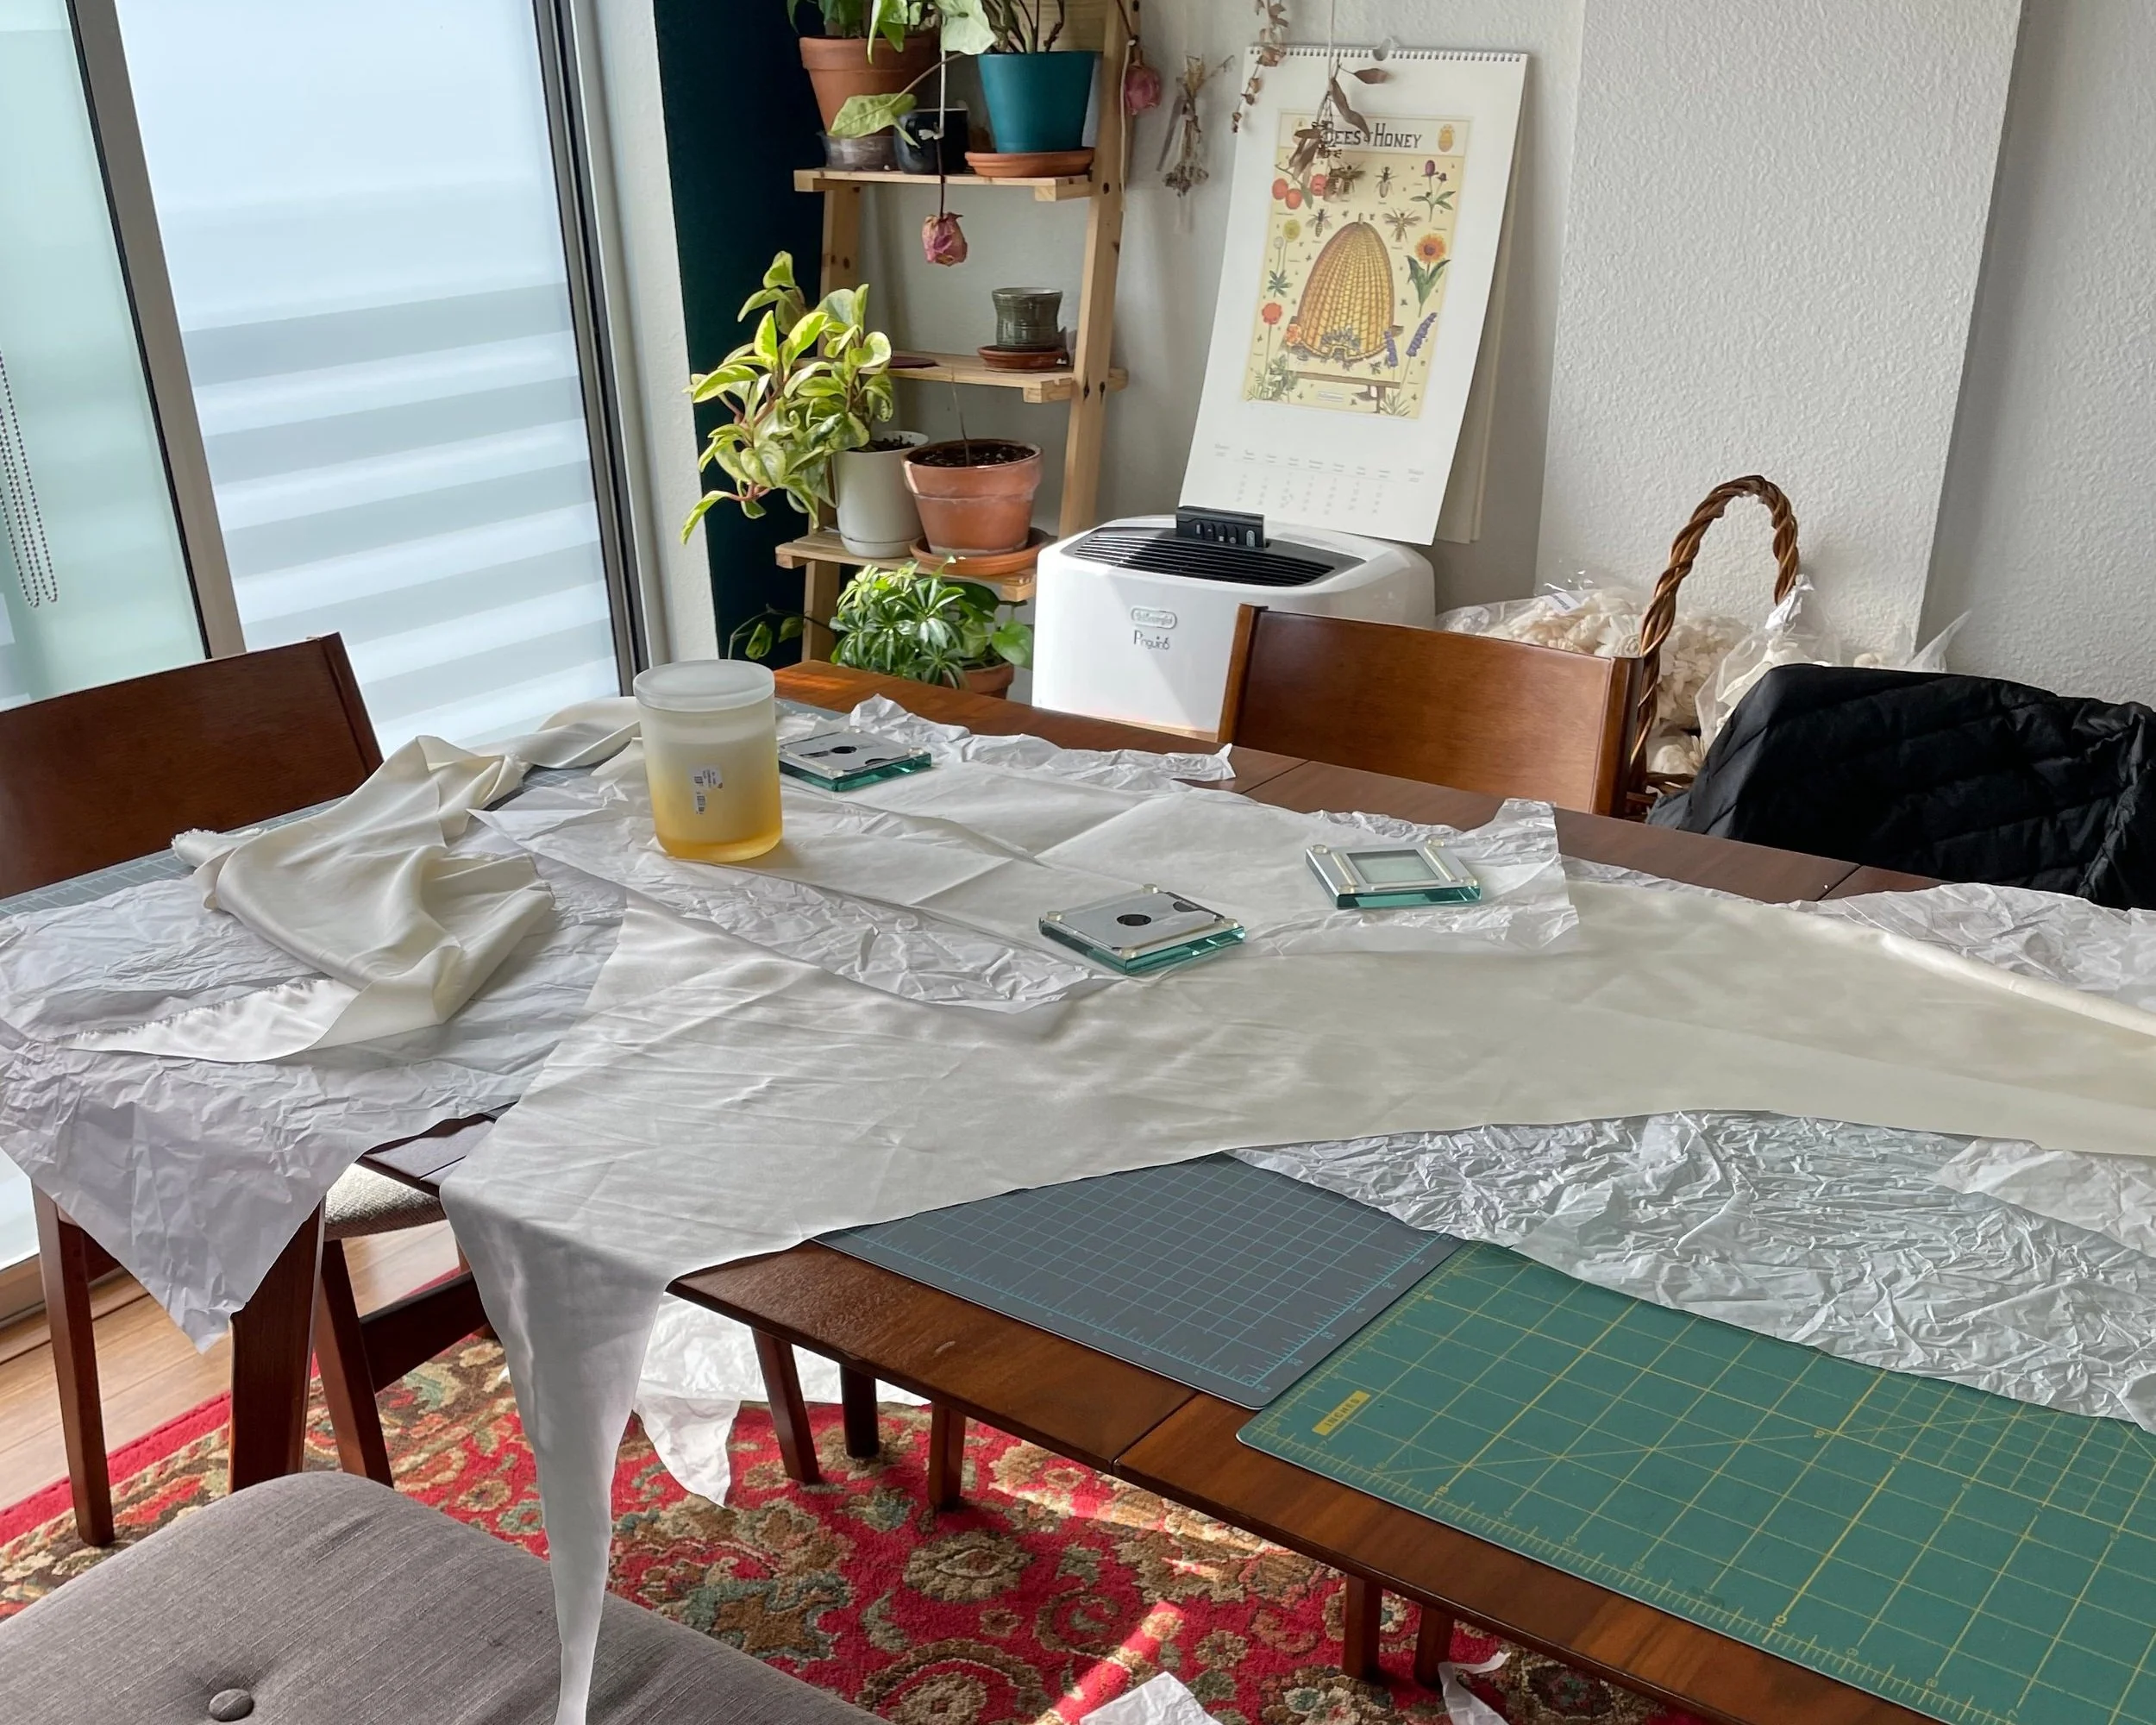
Eventually, I did finish this stage. After that came a whole weekend cutting out the entire dress in the main silk stretch charmeuse, cutting it out again in the silk lining fabric, and then again in the underlining material. To keep the silk from shifting, I cut each layer of fabric between two layers of tissue paper with my rotary cutter.
By this point, toiles to final dress, I am so sick of these pattern pieces. I can’t even tell you. I would die happy if I never had to look at them again.
The Last Prep Work: Underlining & Basting It all together

The prep isn’t even done yet 😱 Next up: underlining is one of those beautiful couture secrets that I wish I had heard of sooner. It is such a simple and revolutionary concept. In short, an “underlining” is a layer of fabric basted to the main fabric, to give your main fabric some quality (strength, stiffness, drape, etc.) that the main fabric doesn’t have. After that, the two layers are treated like one piece and sewn as normal. I wanted to be able to strengthen my main fabric and give it some support, while also creating an extra layer of fabric on the backside of the main that could be used for any hand stitching inside the garment (that would not show from the outside). I underlined the skirt in a silk habotai on the straight grain (not wanting to affect the drape) and the bodice on a bias cut in silk organza (for more strength, but still some stretch).
The last step of prep work here was to cautiously hand baste all three of these layers of fabric together for each pattern piece. All three had to be laid perfectly flat on a table so as not to create shifting and stitched slowly together. Then, and only then, could I consider them whole dress pieces ready to assemble together.
Putting the Damn Thing Together
Now here comes the most satisfying part. The pieces are cut, underlined, basted, seam allowances marked, and beads removed. Putting the damn thing together!!!
Let me tell you, I was so emotional when I finally put the lining together and saw the shape of this beautiful garment on my dress form, I just hugged it then sat right on the ground and just stared for minutes on end. Finally. To see the first sign of all of my hard work come together. It was so gratifying.
Stay tuned for the last-minute mini meltdown I had over the last details of the dress coming up in Part Five: Engineering the Dress & Final Touches.
FYI This post contains affiliate links.