Wedding Dress Pt 3: Designing the Gown.
My long journey on le struggle bus.
Ok fam, in part 2, we discussed the fabric selection for our chosen silhouette. Now, how the heck to make it all happen.
No pattern in sight.

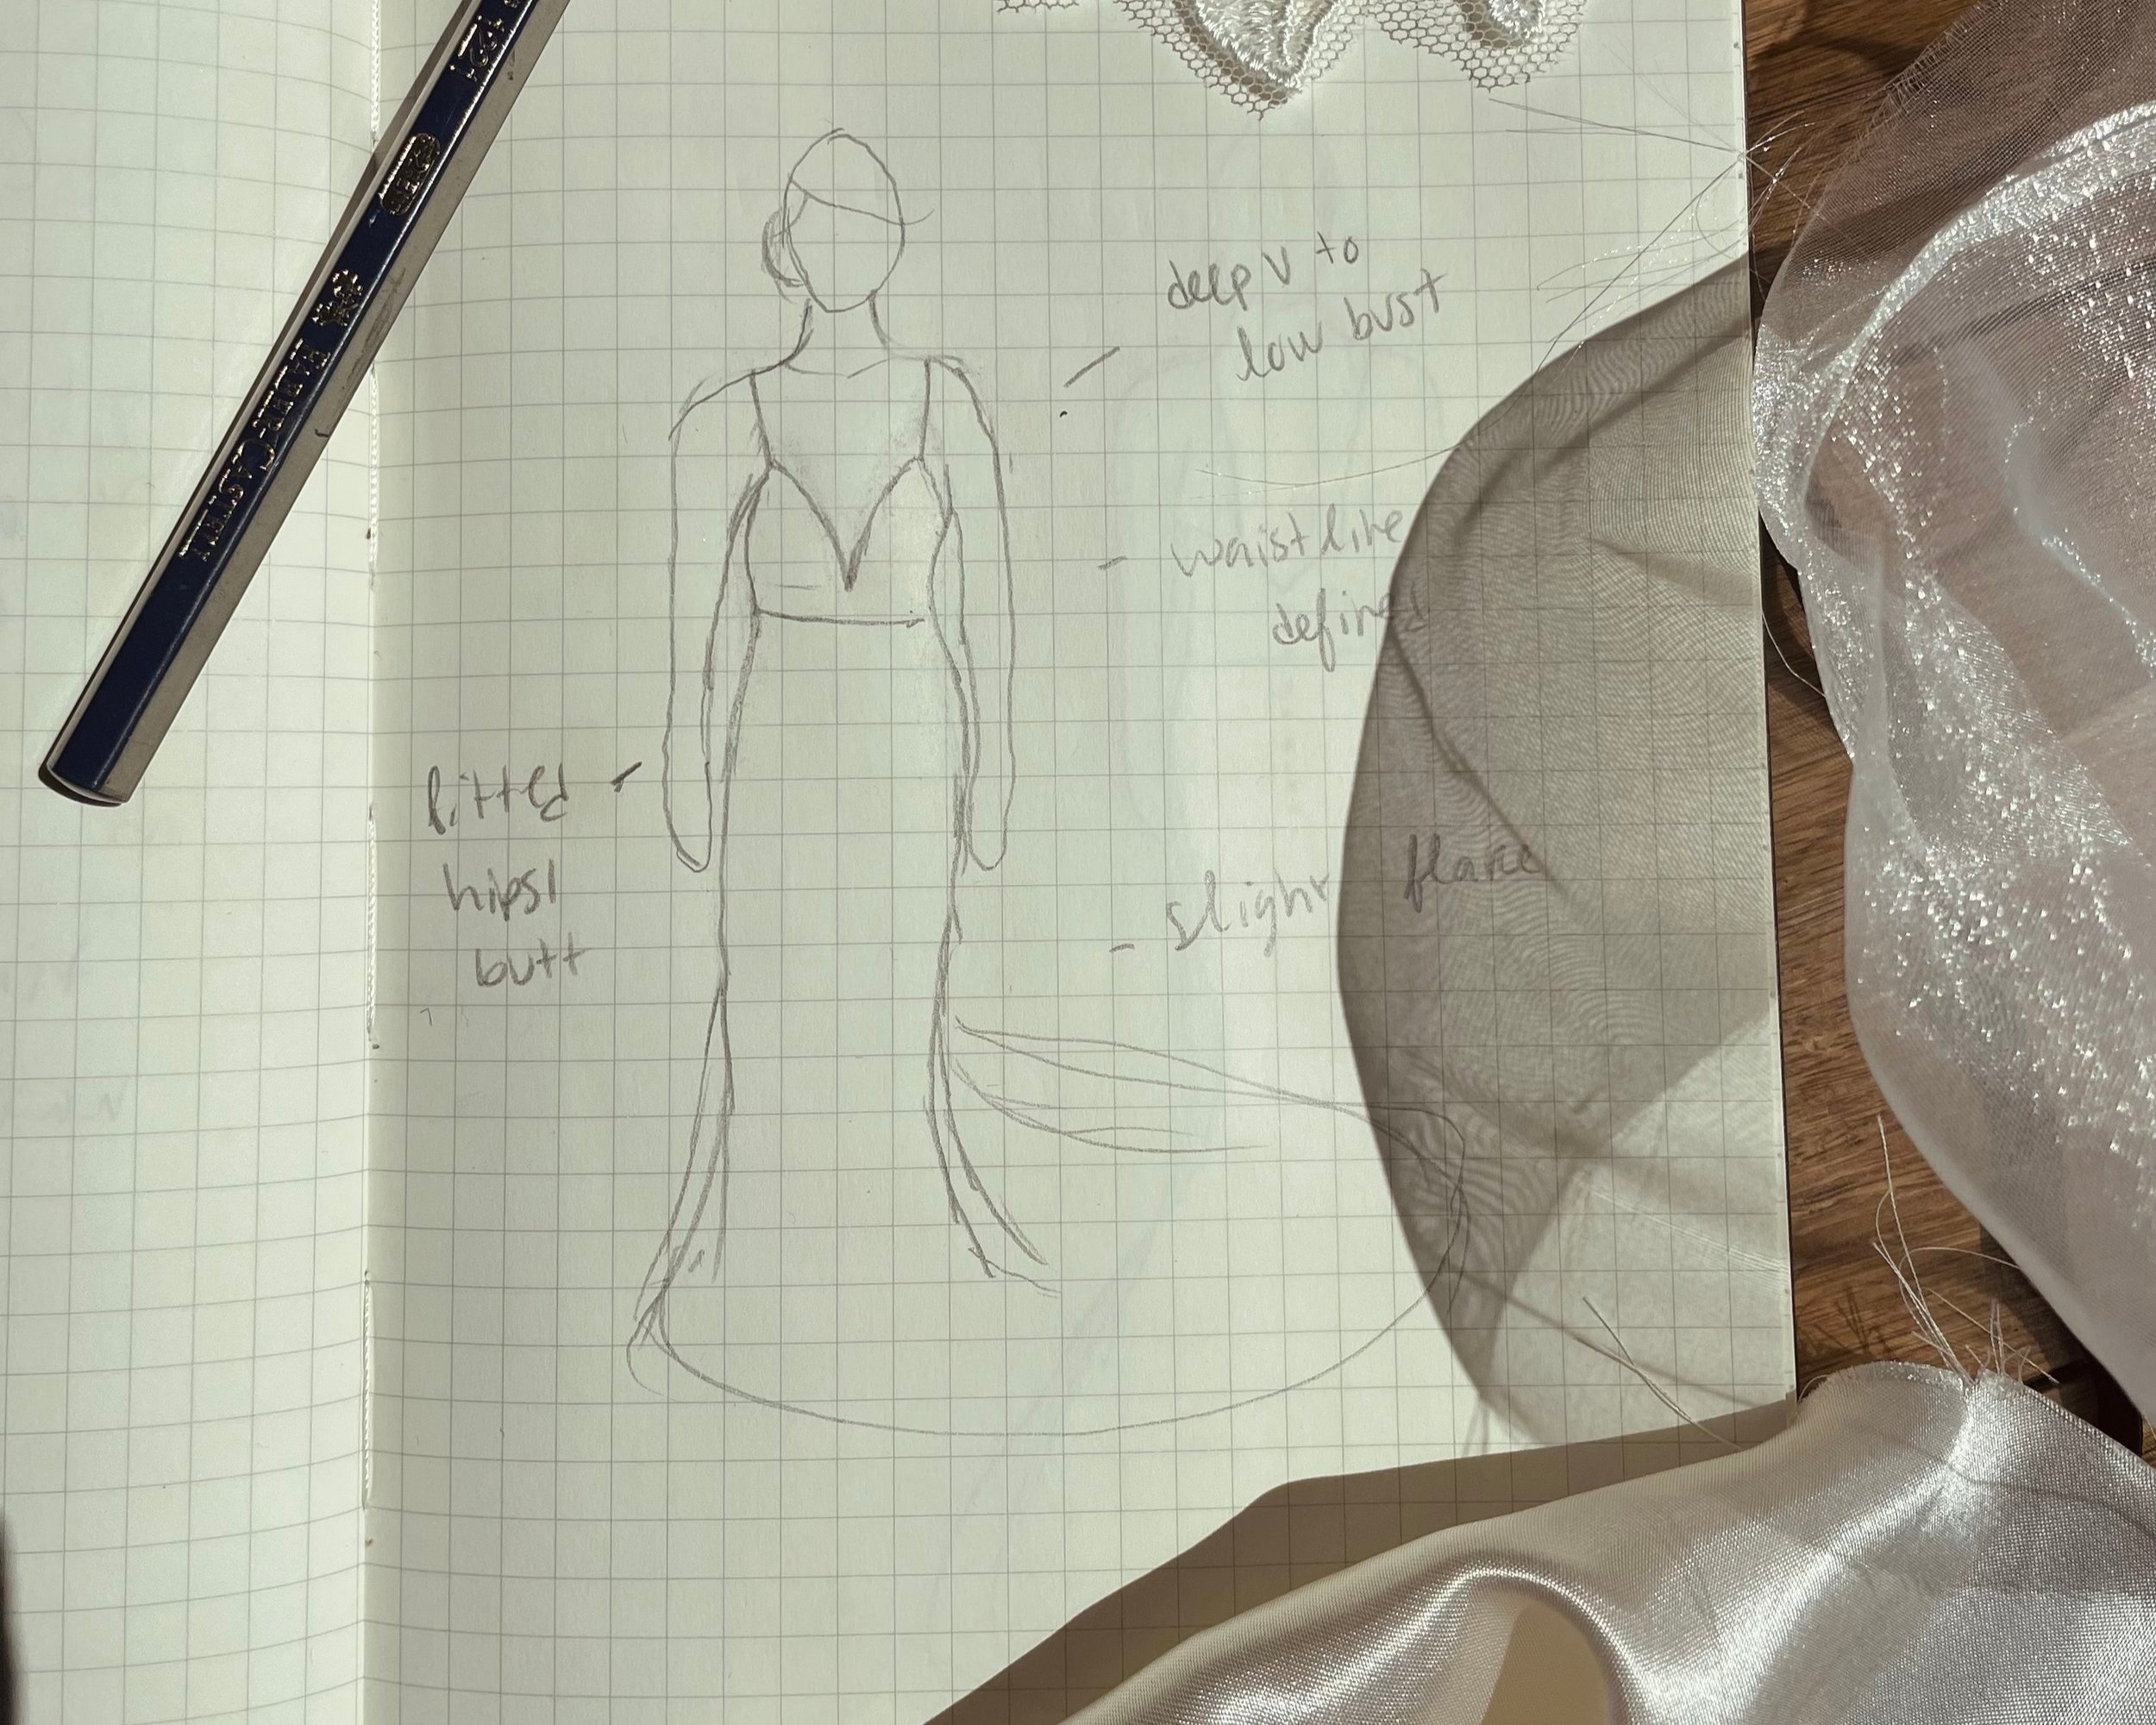
You’ll recall, we are looking for a deep v bodice with straps and a fitted trumpet style skirt. It looks so simple! And not really an uncommon style, honestly. I figured someone had to have made this dress into a pattern before, right? WRONG. I searched every wedding, prom or gown pattern resource I could find, new and old, and could just not come across a bodice pattern that felt close enough in style. Come to find later, I suspect this is because this shape can be quite difficult to stabilize, and probably varies so much across bust sizes.
The skirt
I did find some skirt options and ended up buying a pattern for Noel Nova’s fishtail gown as the base for the skirt. It had a good amount of train, not too much, that I really liked, and was fitted through the hips and waist with darts in the front and back.
Designing My Own Bodice

Alas, with no options left for the bodice, it was time to make my own pattern. Oh, baby. I tried several methods. Mind you, at this point, I had been sewing for two years and a pattern gal for the most part. I was figuring all of this out for the first time. I had expectations that this would be easy, and it wasn’t, and I got frustrated. Made mistakes. Learned A LOT. So, here’s how it went!
First up: Draping.
Y’all, I must have watched HOURS of Youtube videos about how to drape. This is essentially designing straight on a dress form. As you can imagine the first attempt at anything, it ended with lackluster results. The shape was a little too thick, and the curve of the bust didn’t quite lie flat. It felt like it was going to be slow to troubleshoot and rather than keep at it, I got discouraged and decided I would have to learn to drape another day.
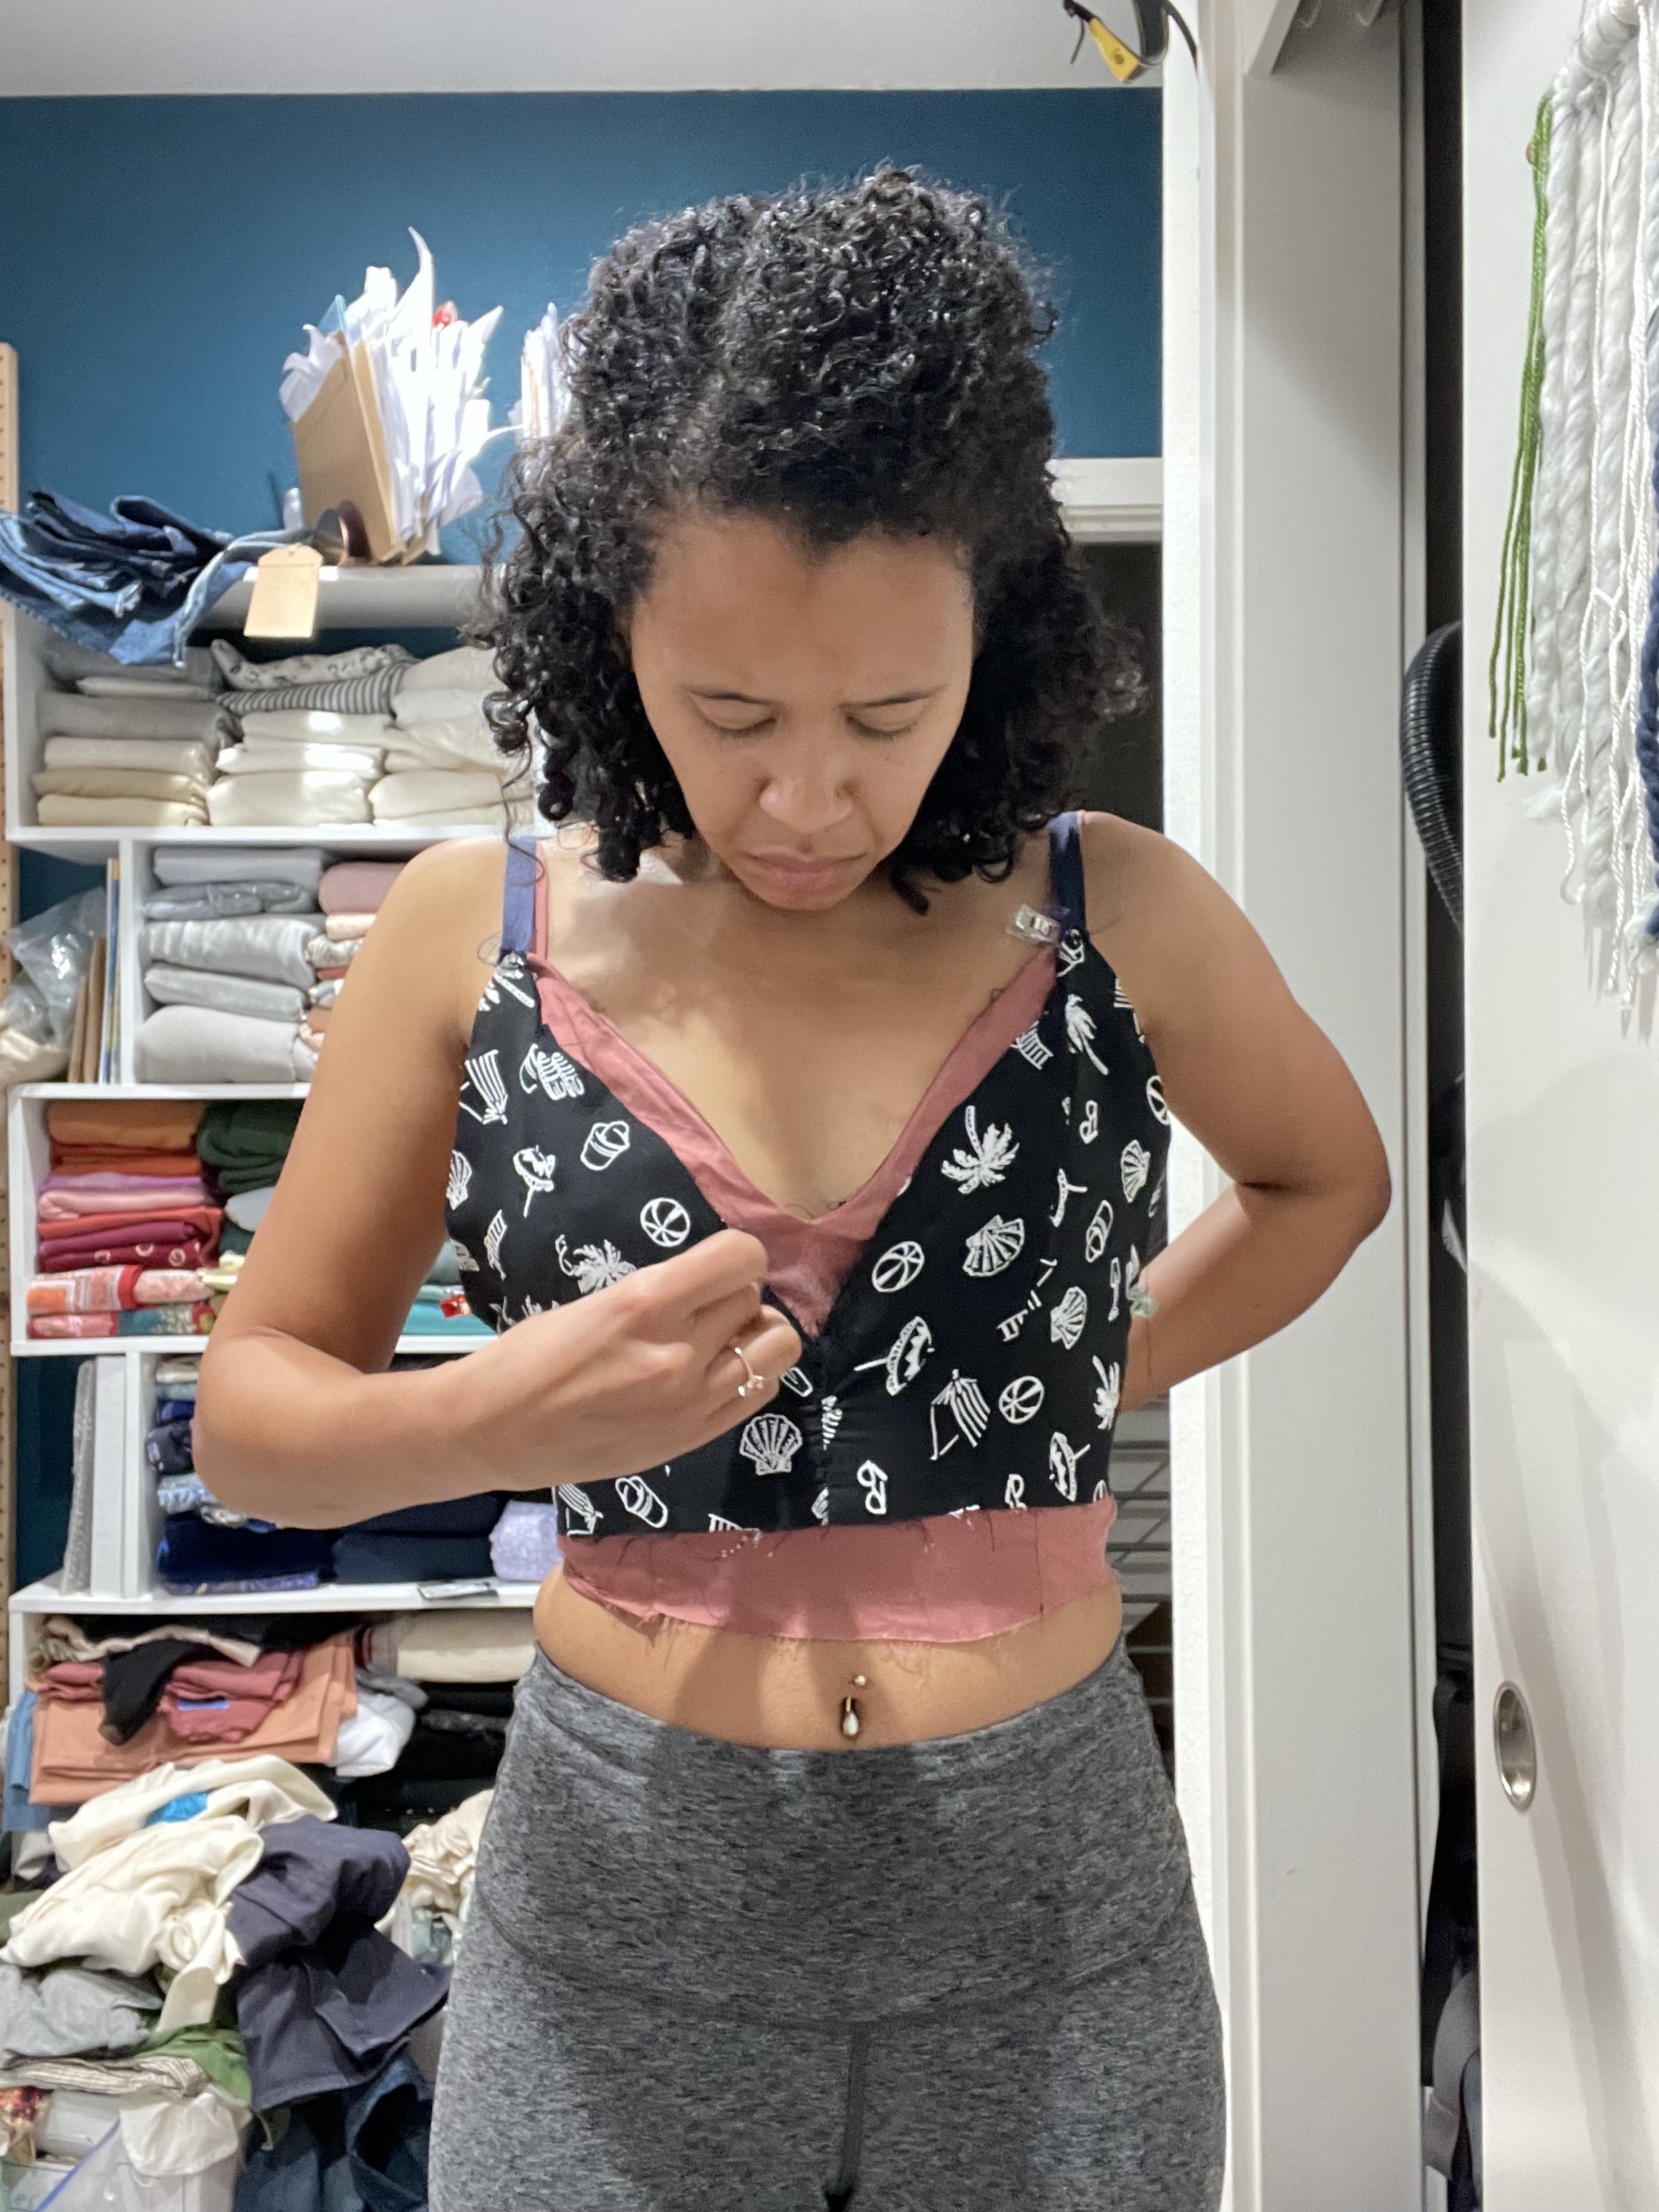
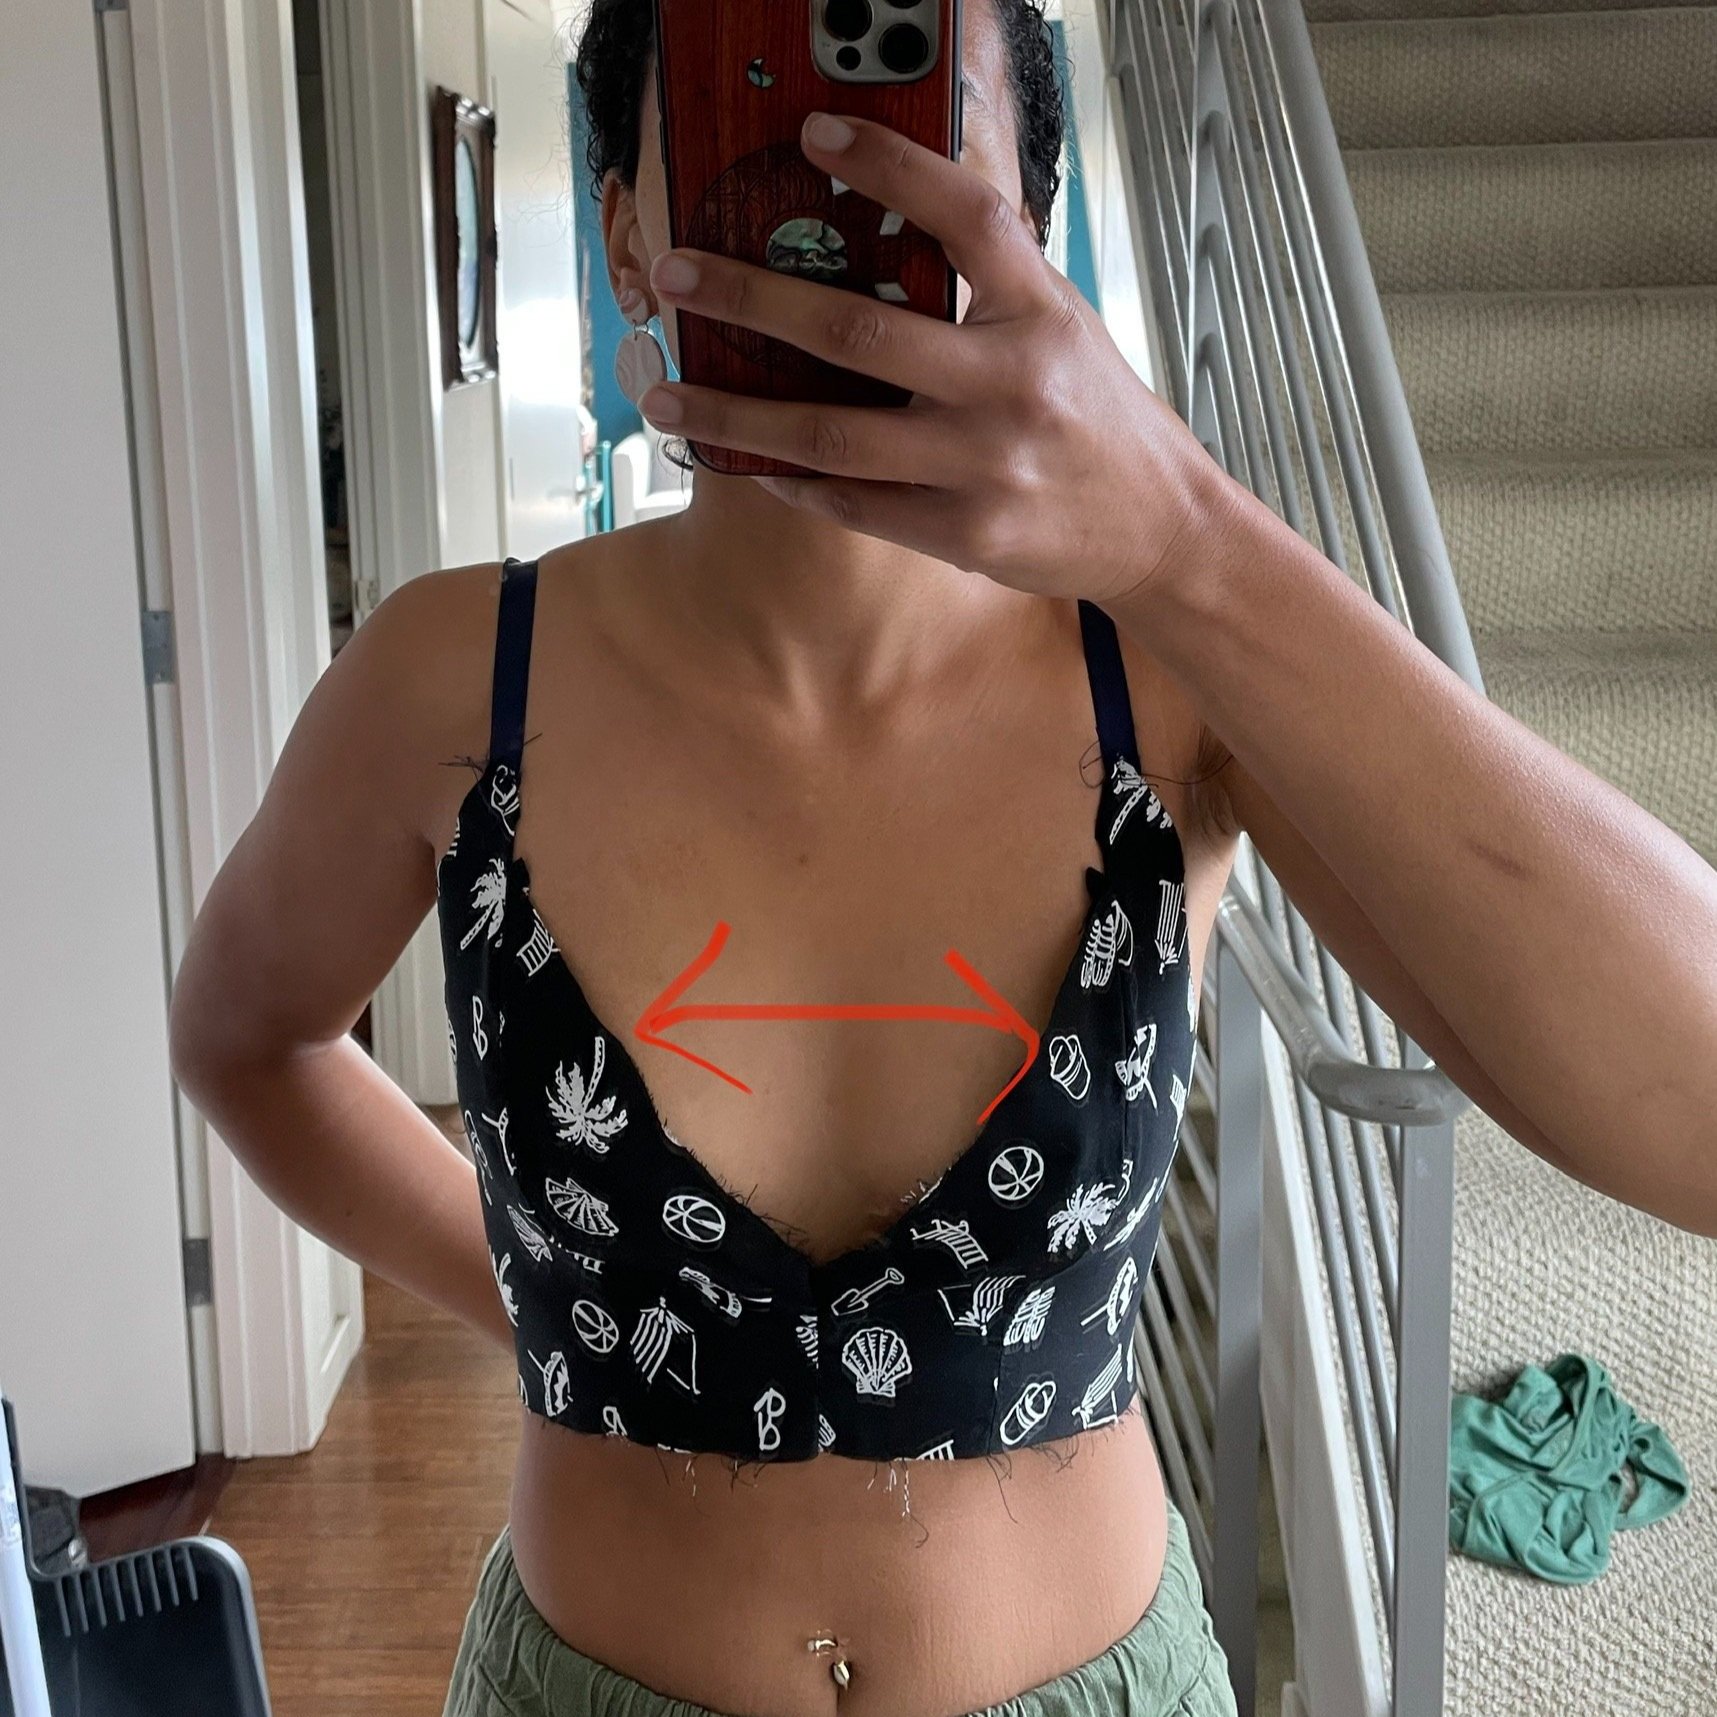
The Plastic Wrap Bodice Method
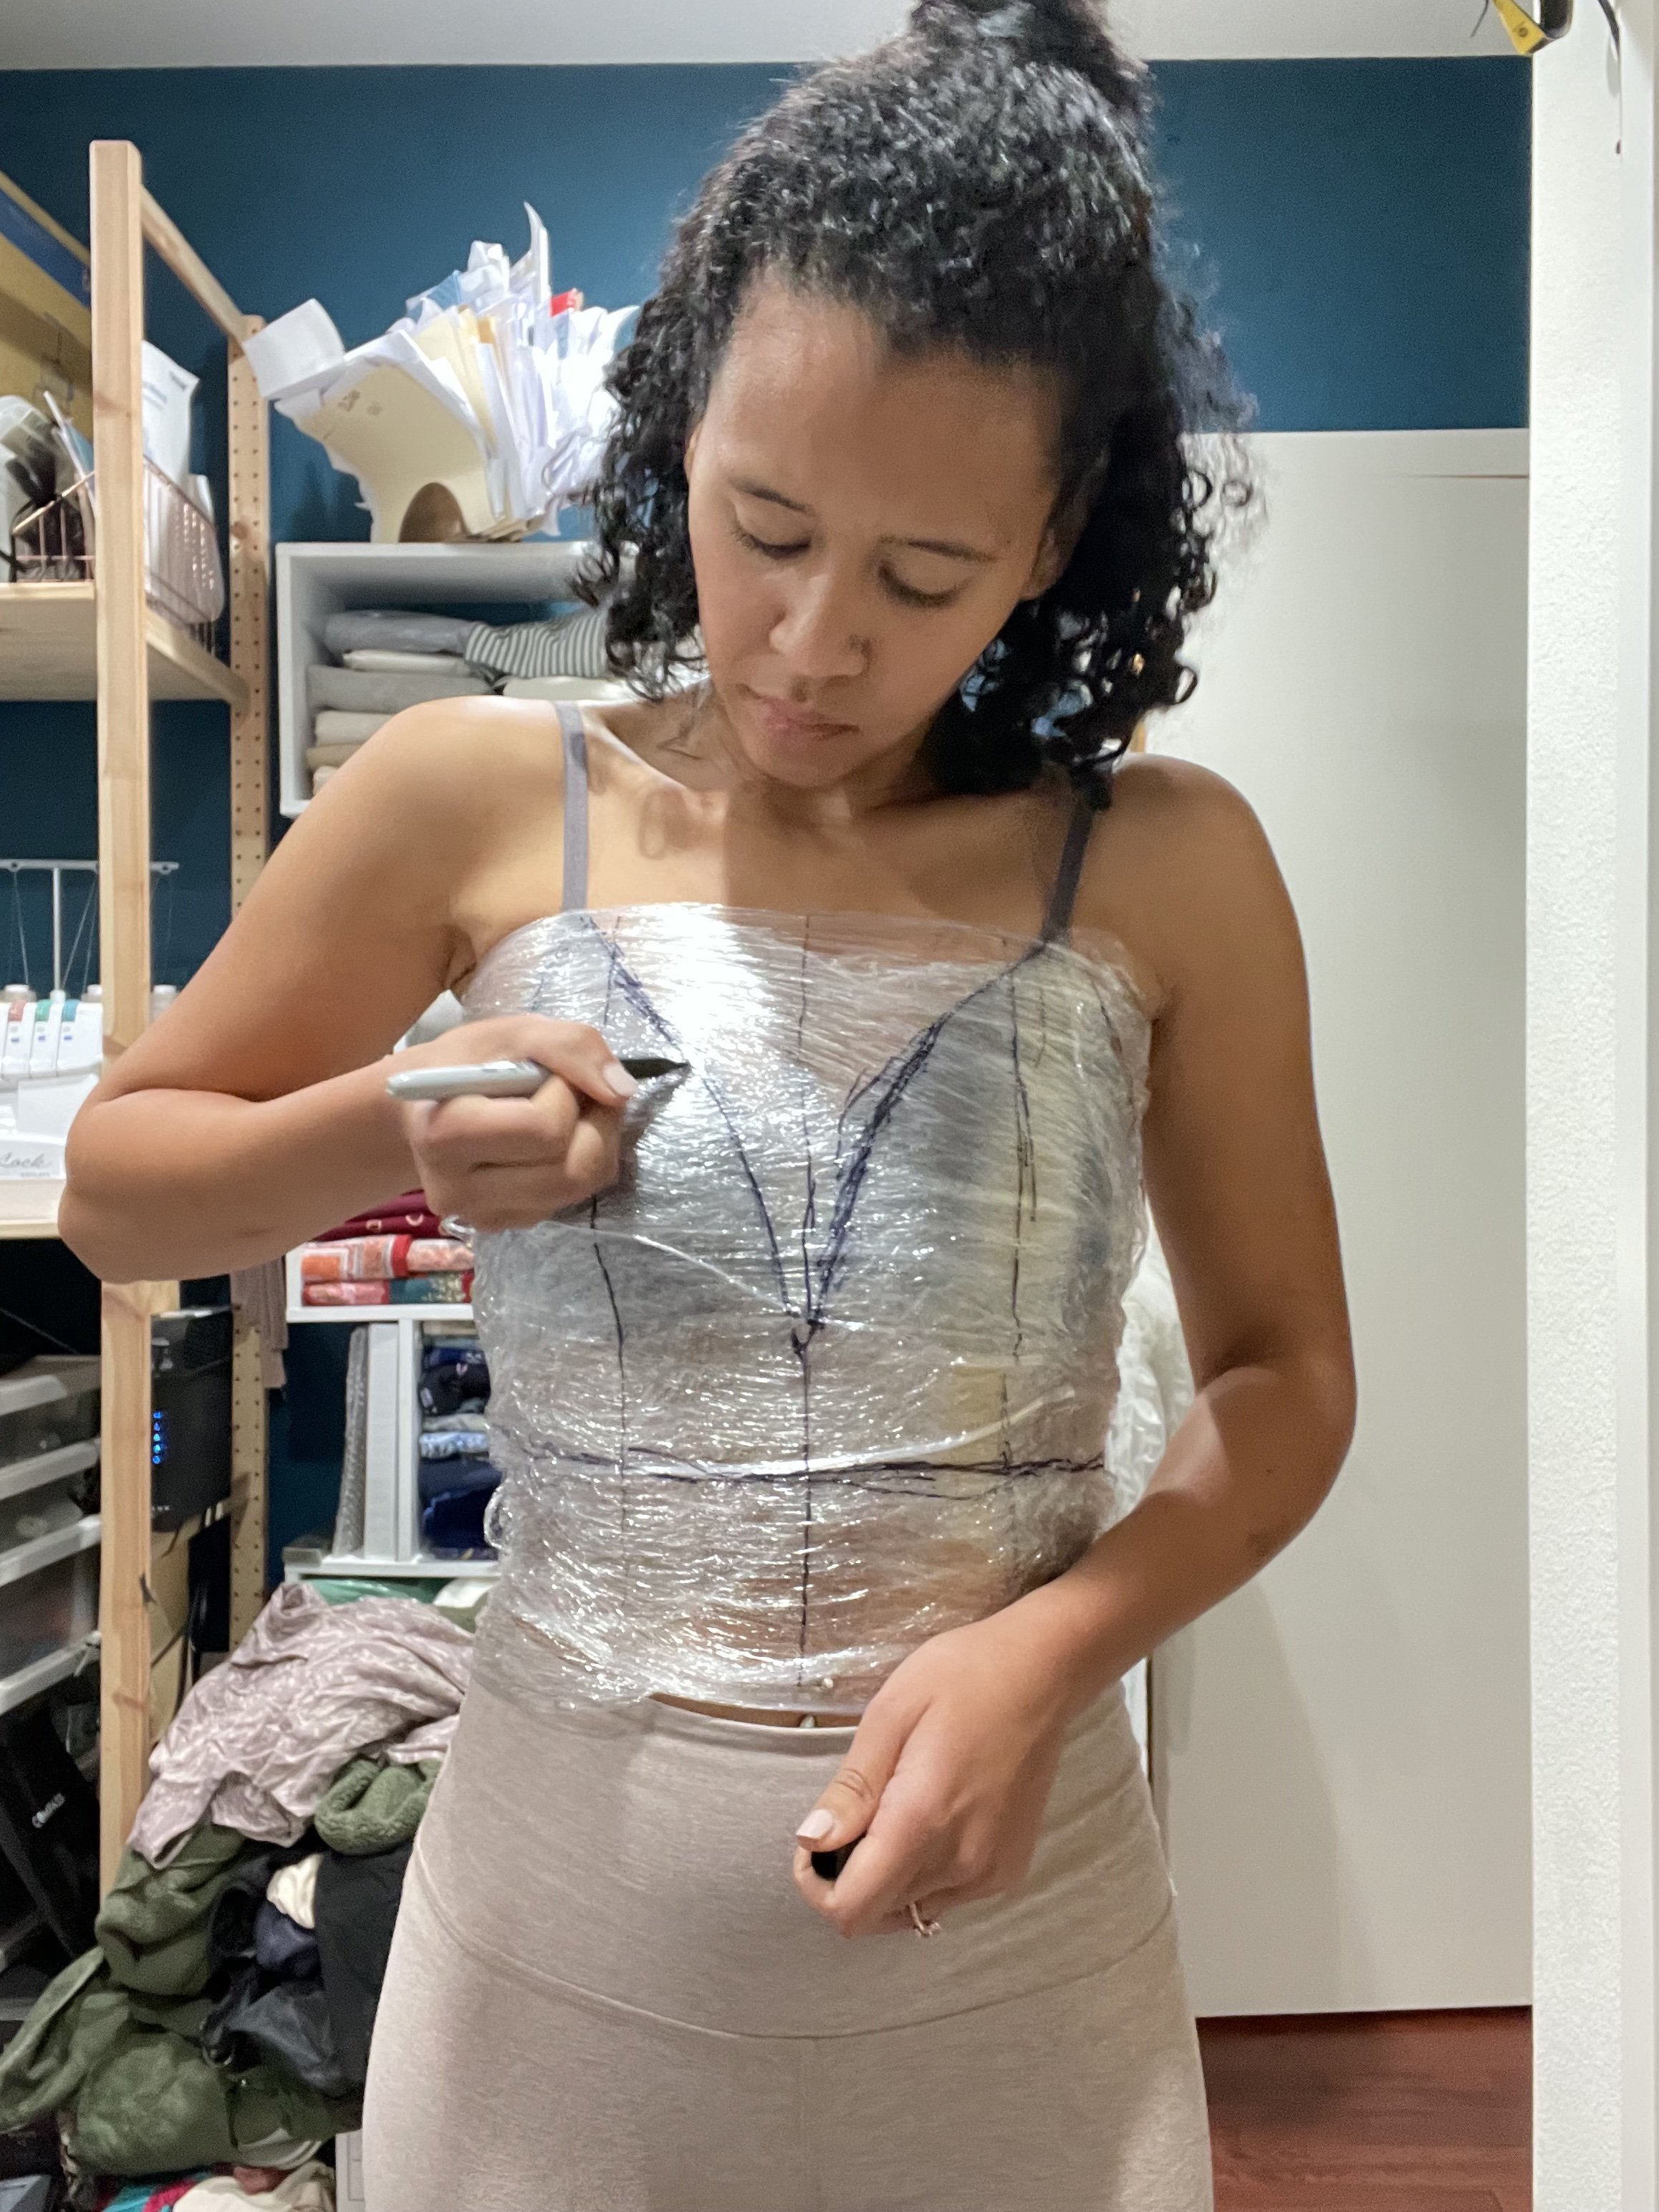

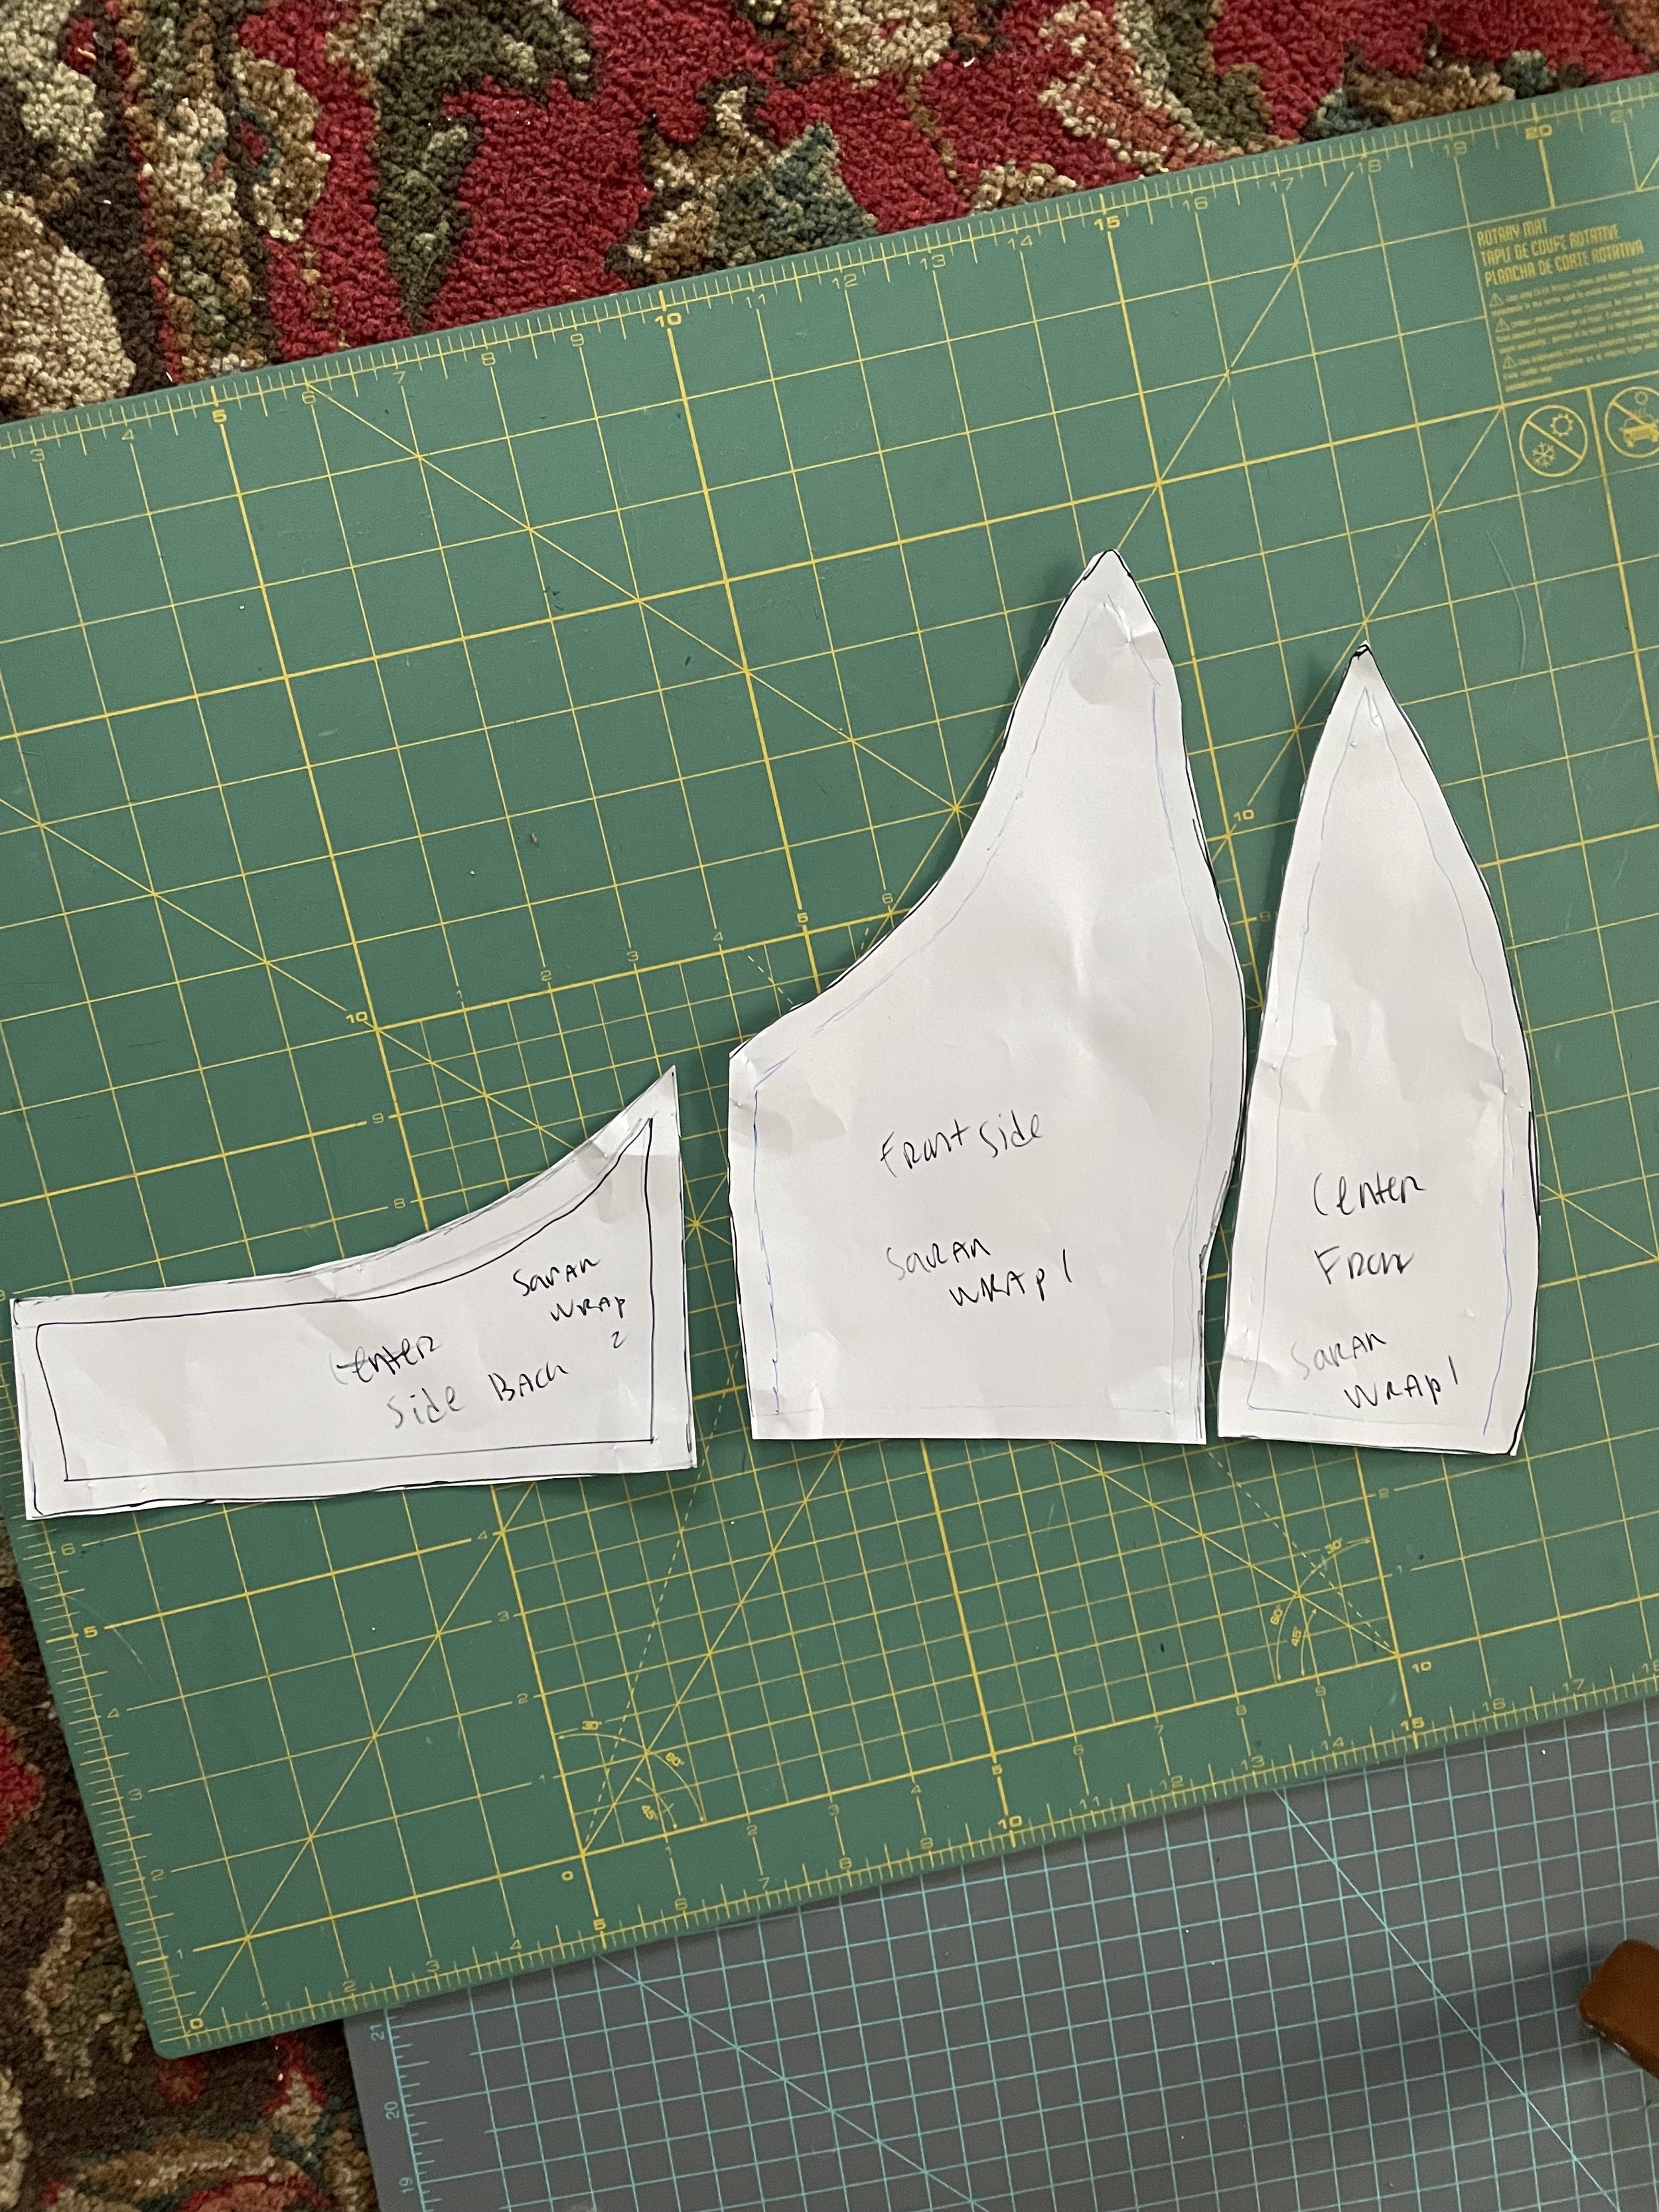
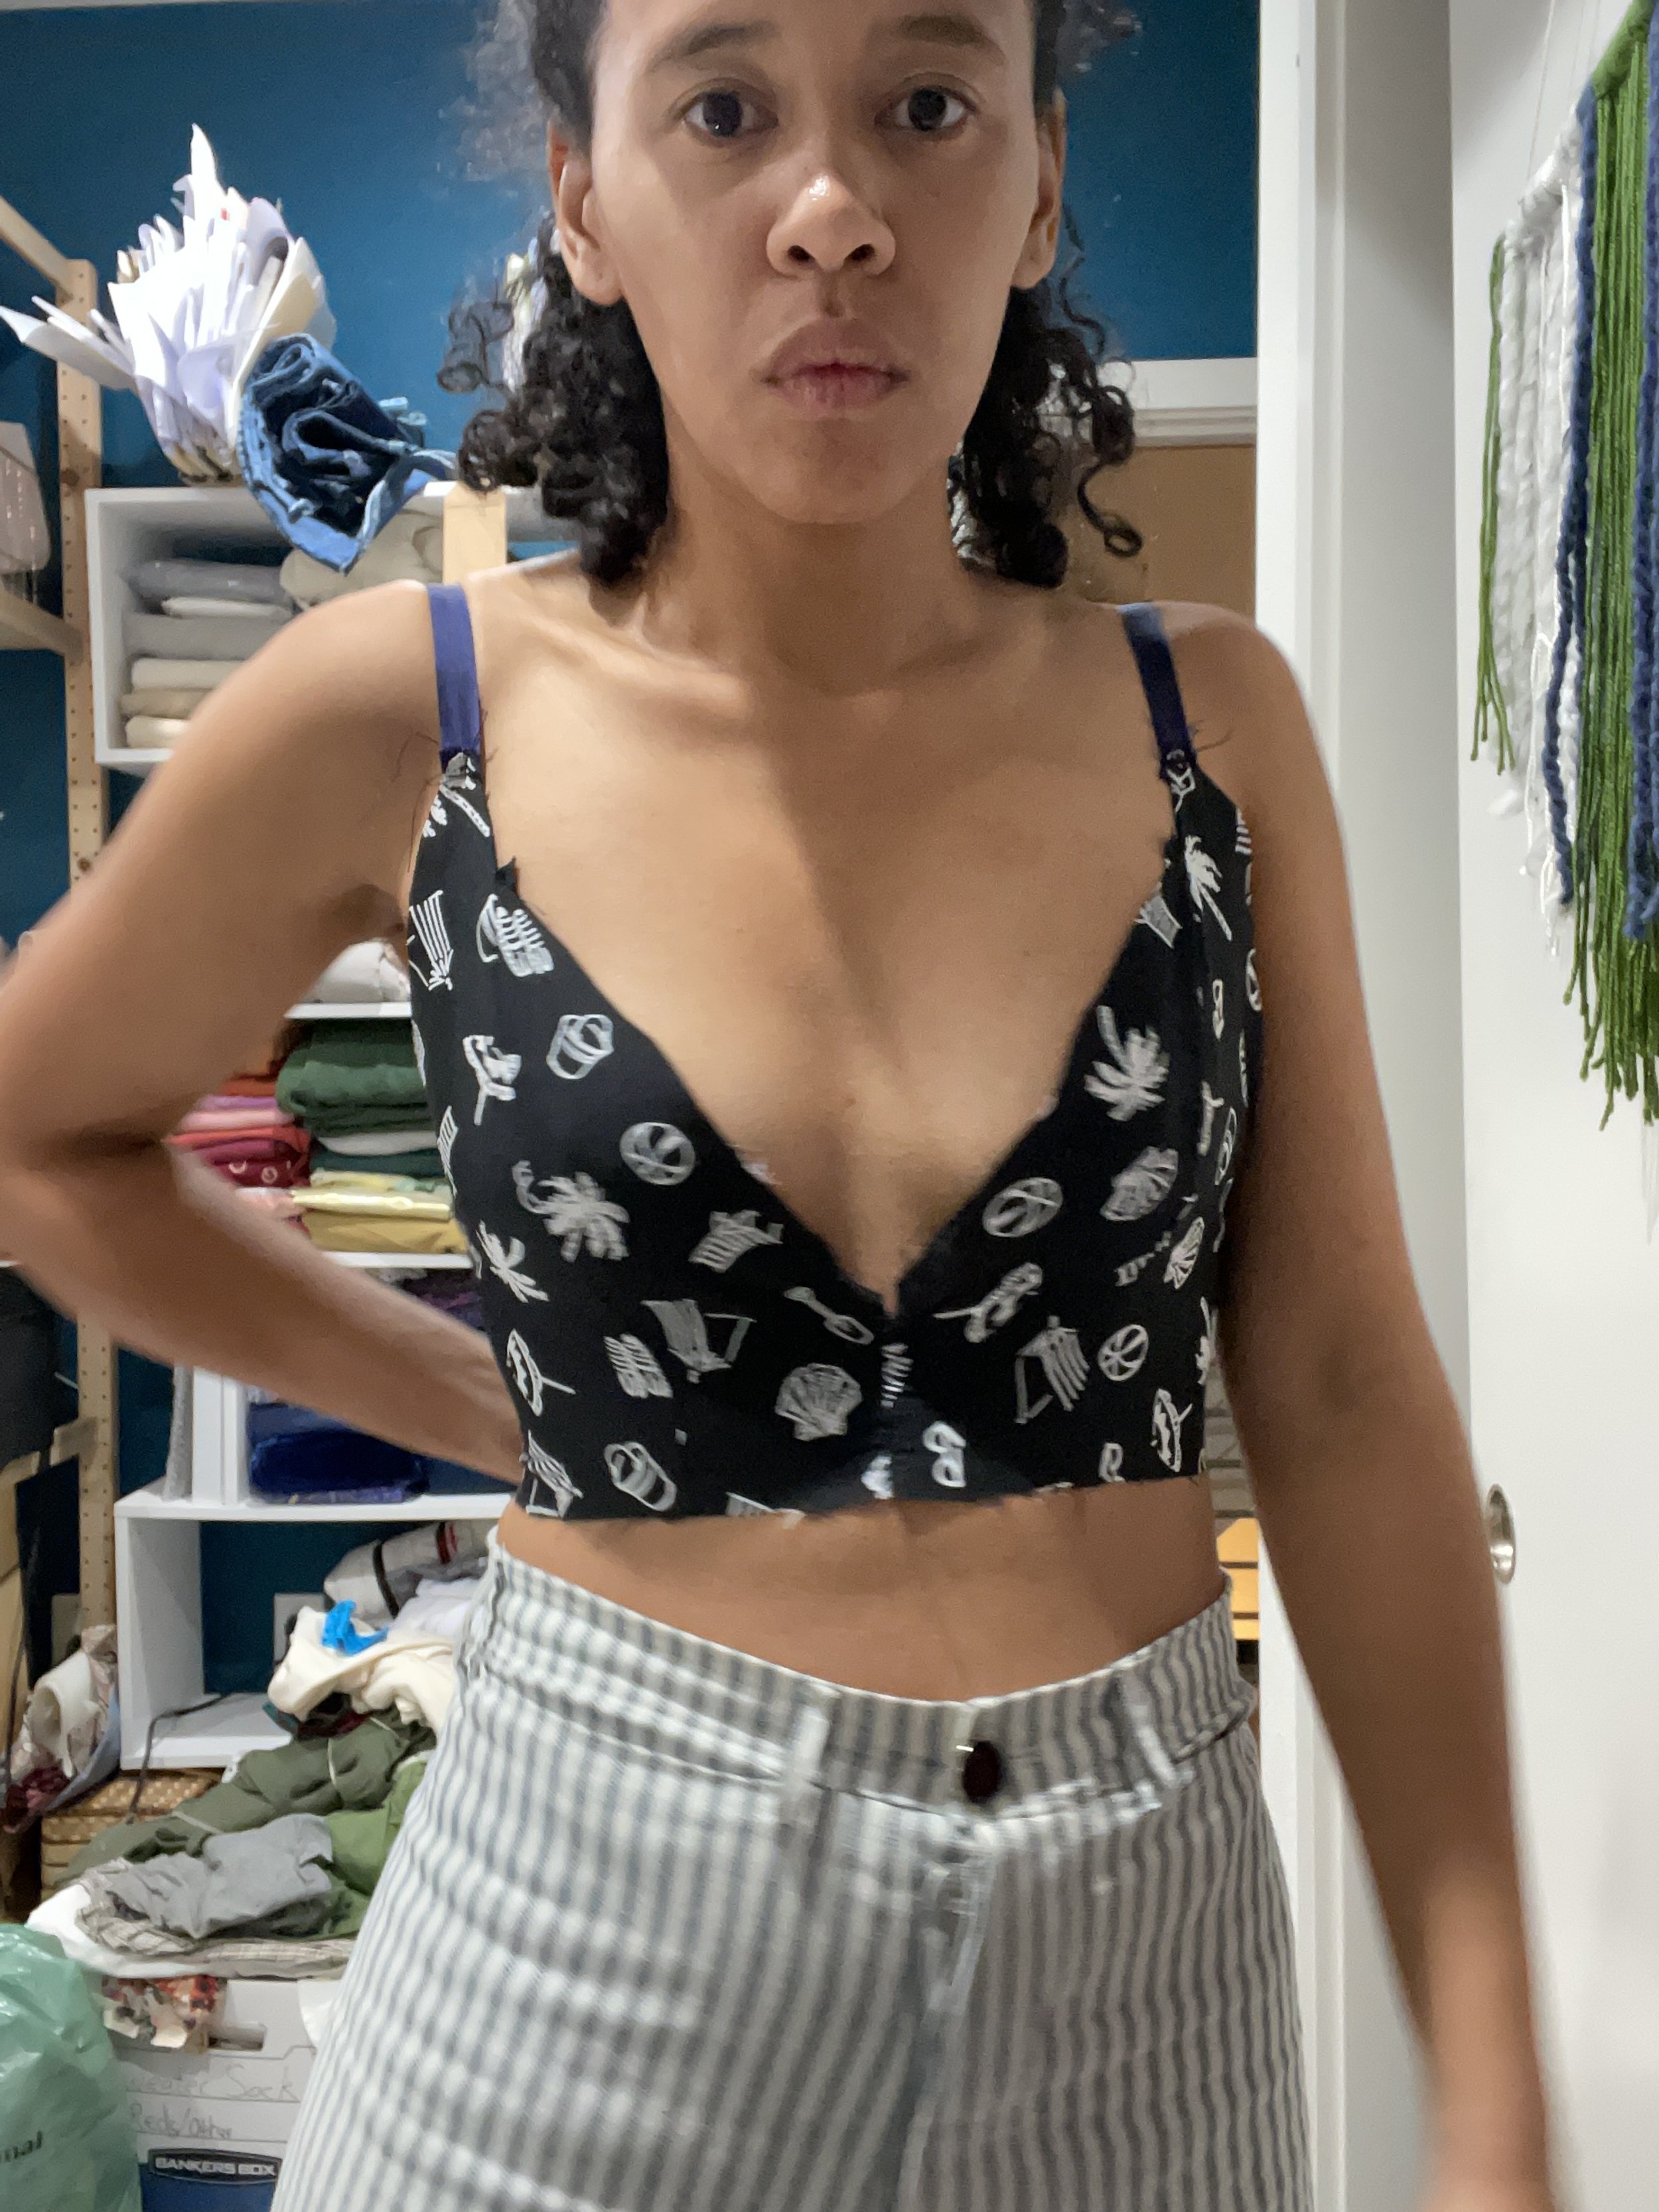
Now this one was FUN. My insta-friend @ByGracieSteel introduced me to this idea. You essentially wrap your torso in plastic wrap to create a perfect body double, draw on the style lines, and then cut out the pieces for a perfectly fitted bodice. Molded to your body already. It seemed like the kind of foolproof, quick win I needed at this stage. I have a video with more detailed instructions here. When I sewed up the resulting toile, the shape was just right, but it had serious gaping outward issues. It felt like if I moved the wrong way, a boob might just slip out with the wrong twist or dance move. Naive and impatient, I decided to scrap it. (Hindsight being 20/20, four more toiles later, the final ended up nearly identical to this version and all I really had to do was start troubleshooting how to stabilize the deep V. Ahh, impatience, my fickle, fickle friend. )
Flat Patterning Method


Next up on the struggle bus. I thought I might take the pieces of a v-neck bodice I already owned, and modify it. I started slicing away at the pattern pieces, guessing at the shape, and made two or three toiles this way, tweaking and tweaking again to try and get things closer and closer to what felt right. They had fewer but still some gaping issues. At this point, at least I realized I needed to stick to one method to perfect it.
The Aha Moment
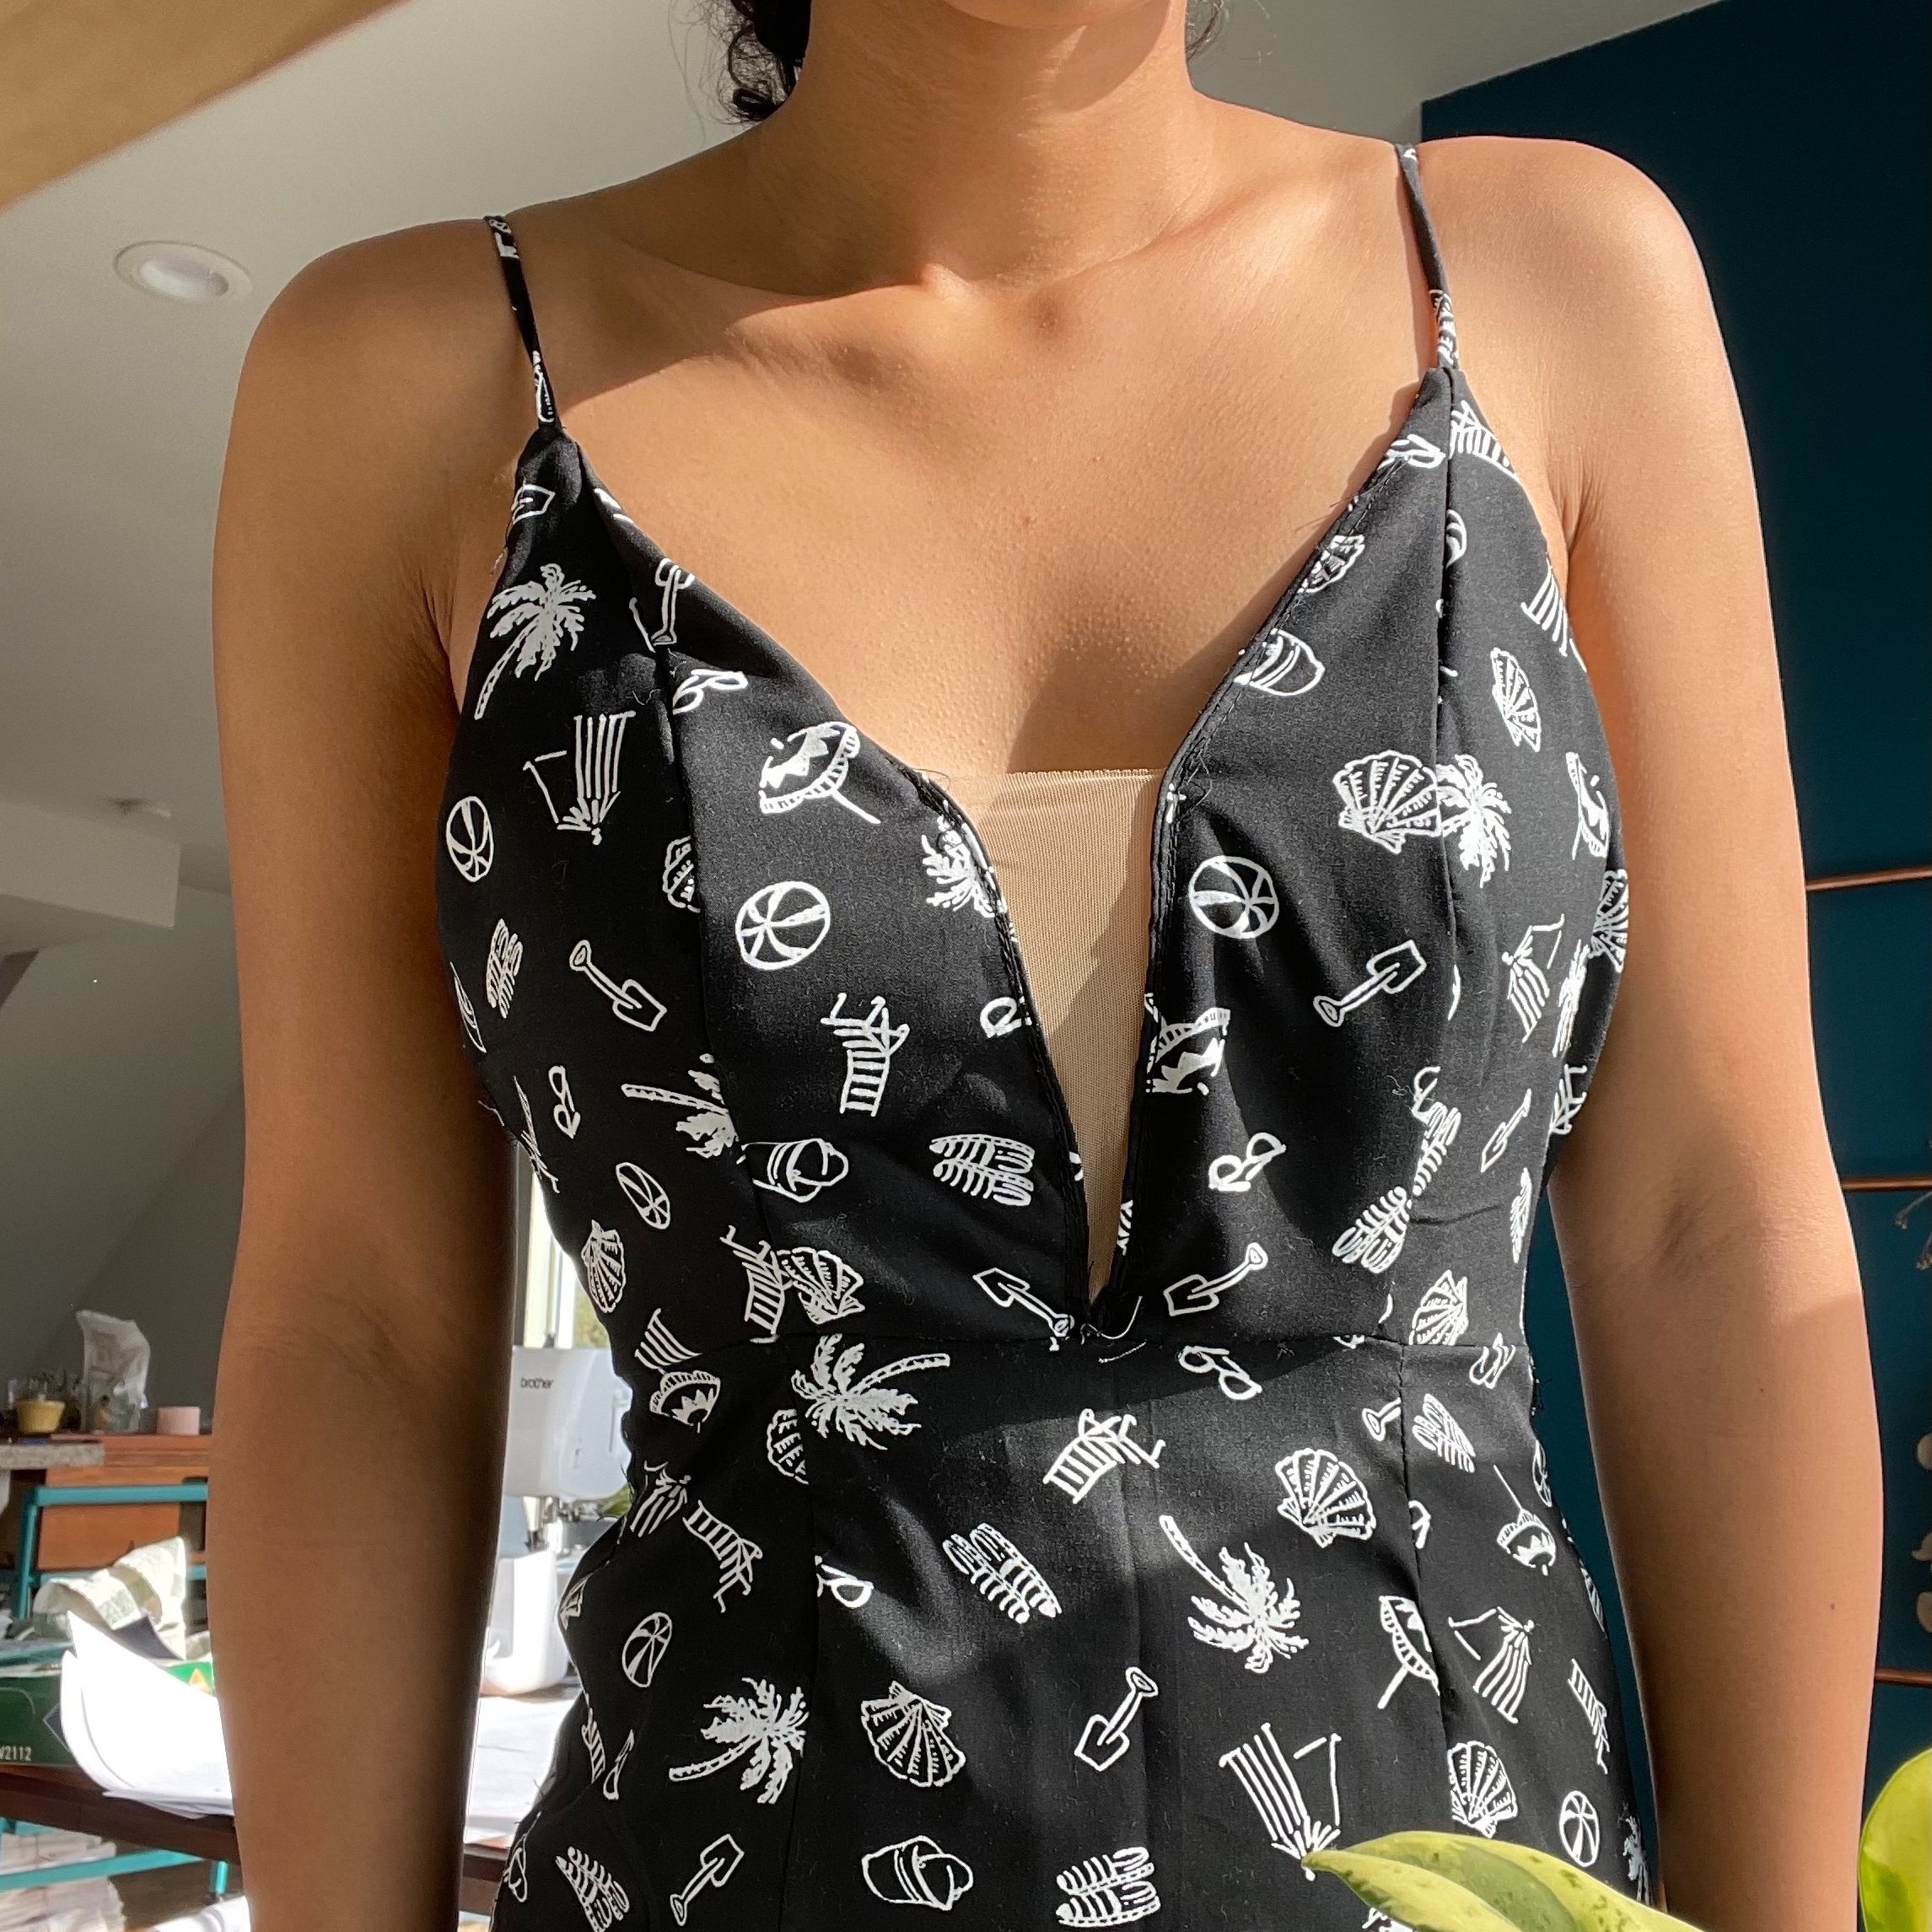
So eventually I realize that the gaping problem isn’t fully the pattern, it was the fact that I needed to stabilize the deep V. I realized that all the dresses I’d tried on have the nude mesh insert in between the v. I found some Etsy sellers that sold this mesh in brown skin tones, and it worked! No more gaping. But, it wasn’t perfect. Just not as flattering as nothing there at all.

Someone in my DM’s pointed out that the great Crescent Shay used a v wire separator (affiliate link) in her stunning Fiber Optic dress. I bought some to try out and played around with both methods and found that in the end, the V wire was the way to go. We’re months into this project by now by the way and 5 or 6 toiles in, just looking for a W. Finally a solid solution that needed just little tweaks to keep it from rolling out.
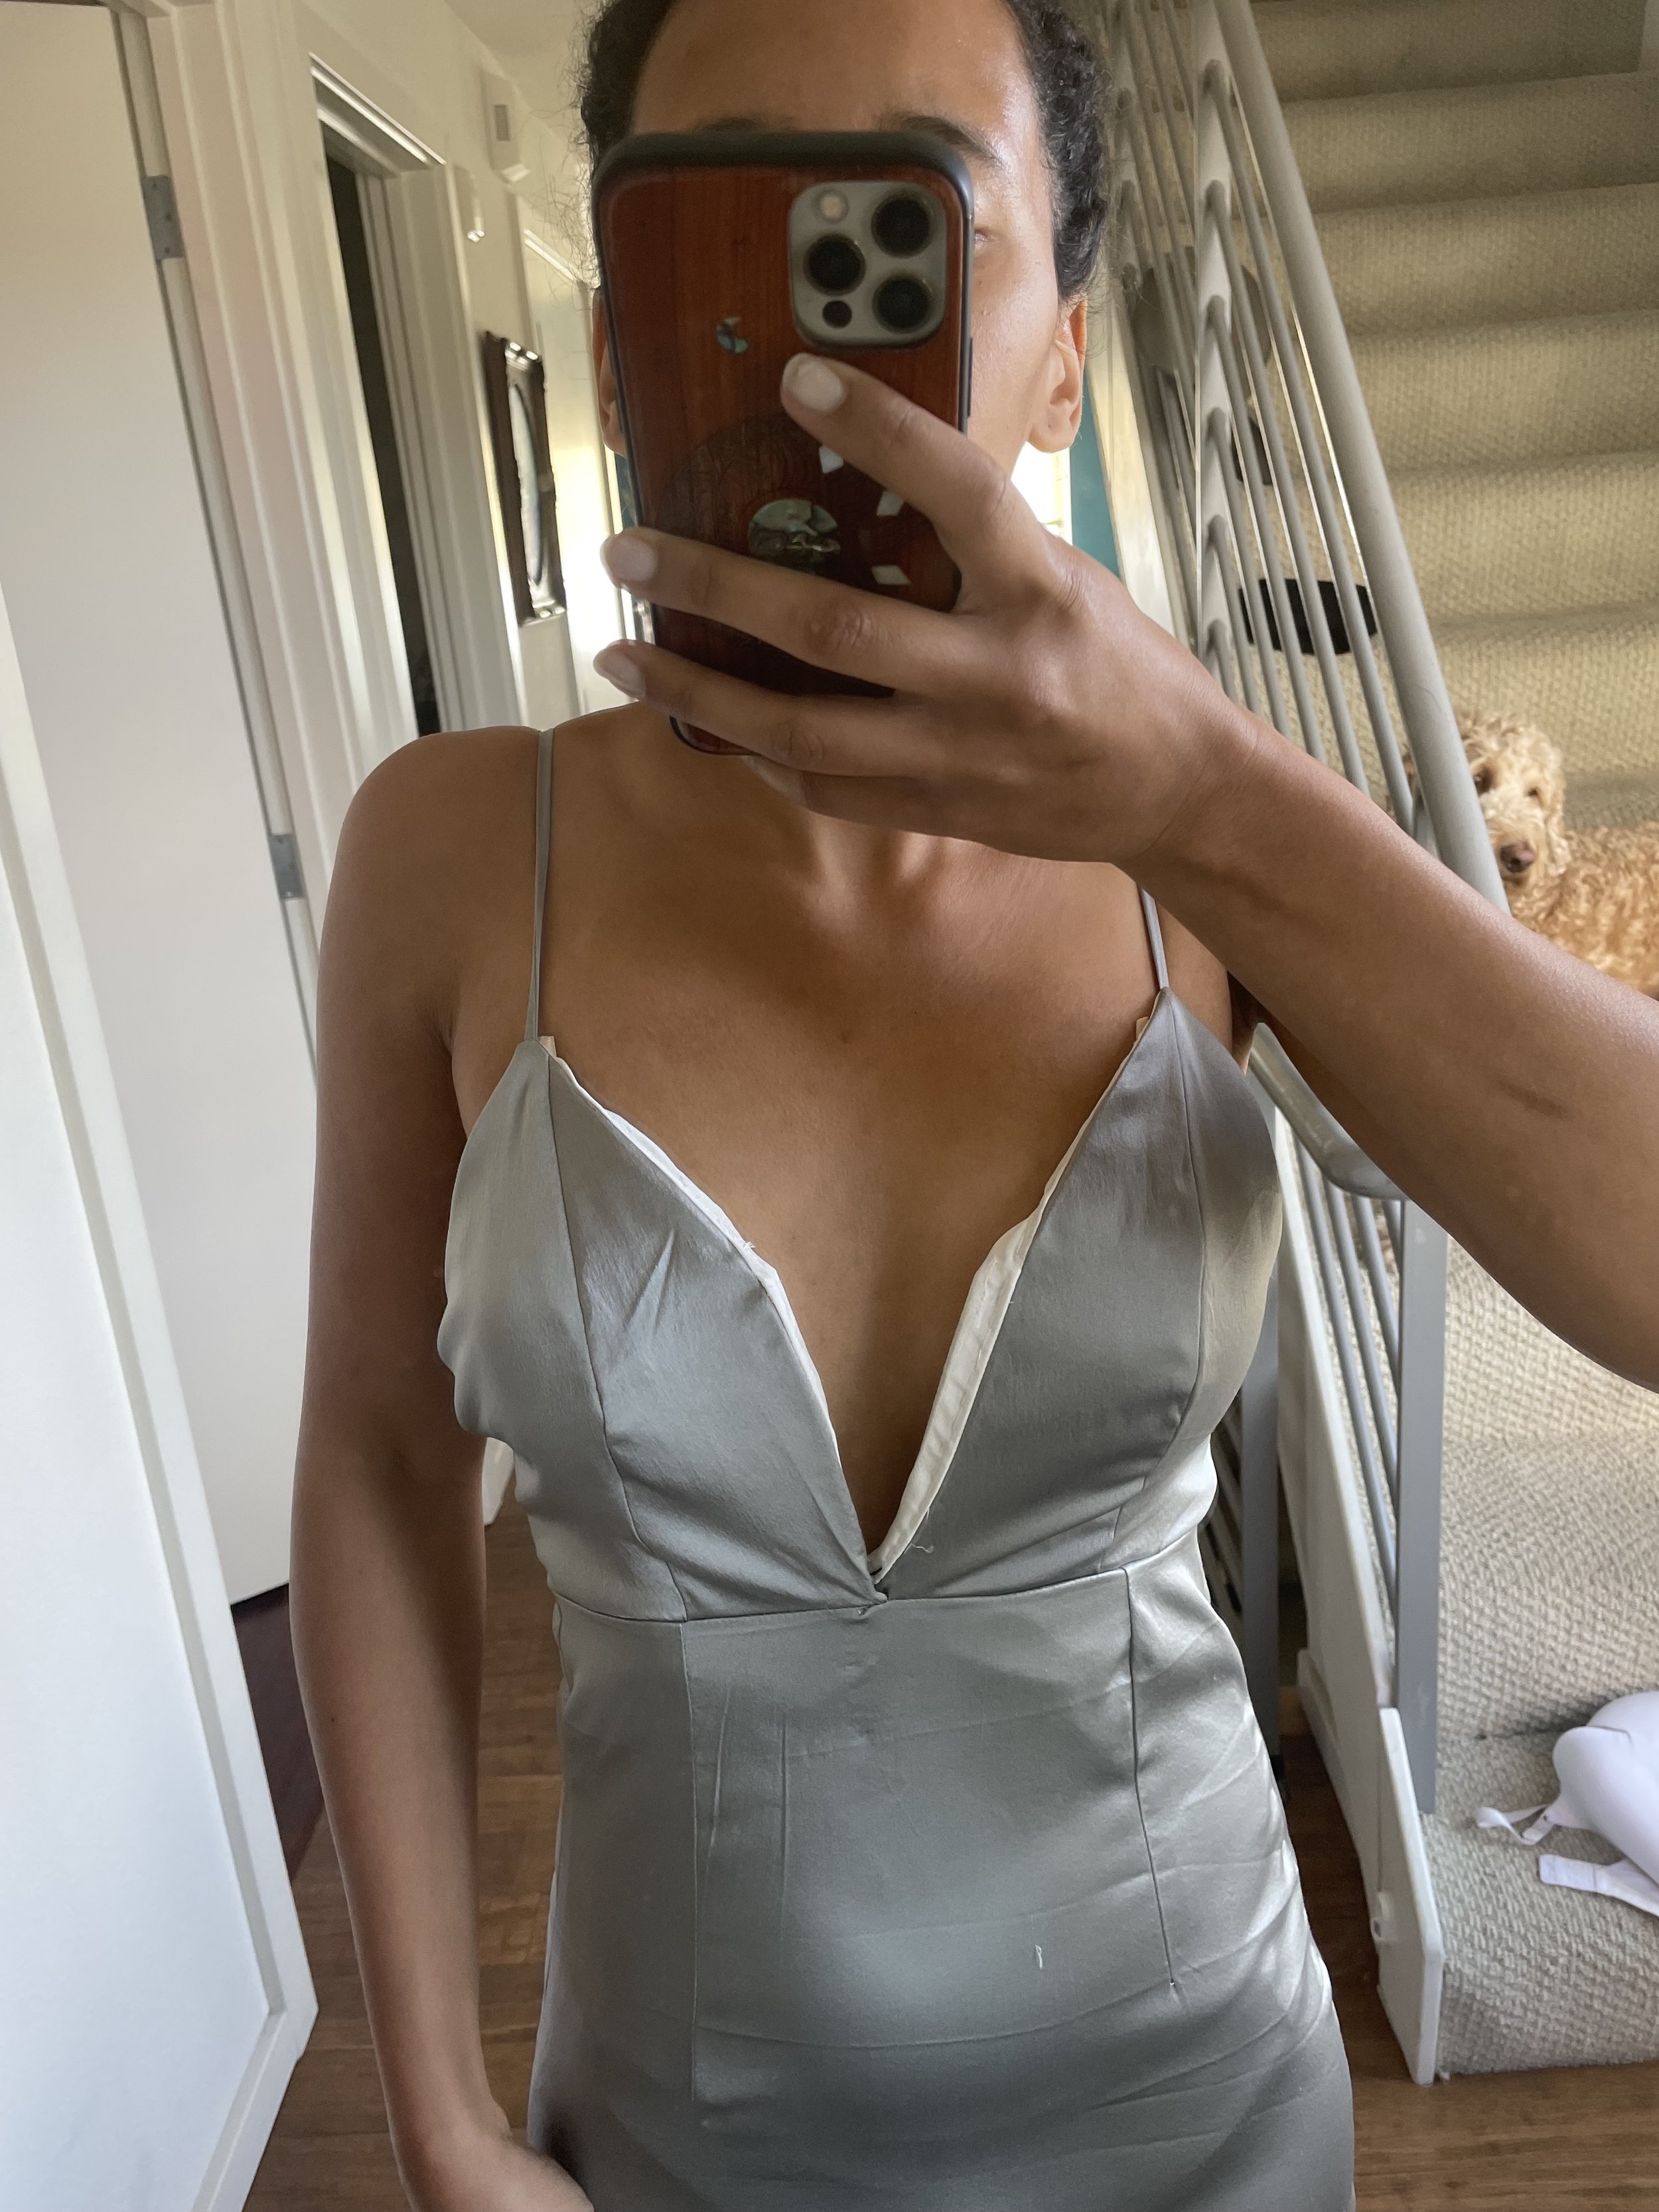
The final toile
Just one more full practice dress in a similar fabric to my final and we’d be ready to cut the real dress. I chose to whip this one up in gorgeous grey silk stretch charmeuse, a hand-me-down I had been given from a friend’s mother’s stash. I had been toiling in cotton and rayon fabric and figured I would take the time to make one more full practice dress, so there would be no room for error when I finally cut into the good fabric. And thank god I did! Because the design was NOT ready for prime time. This fabric has about 5% lycra, so when I made the final dress, the fit was completely different. It was very loose compared to the fabric with no give, and I ended up having to make a lot of adjustments at the side seams and deepening the darts to get the fit just right. This was a rookie mistake, I later learned. Always toile in a similar fabric to your fashion fabric, friends!
Stay tuned as we get closer to the real deal in Part Four: Starting the Final Gown